
The German..
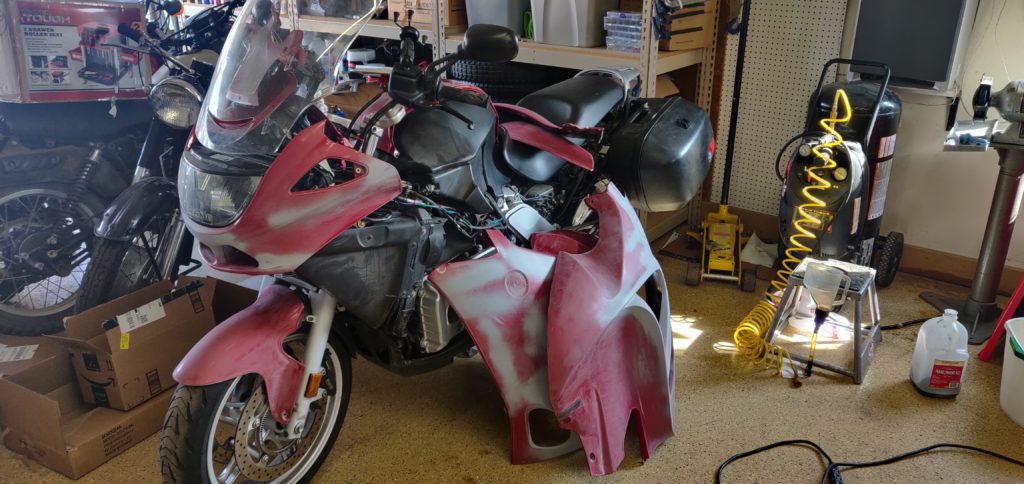
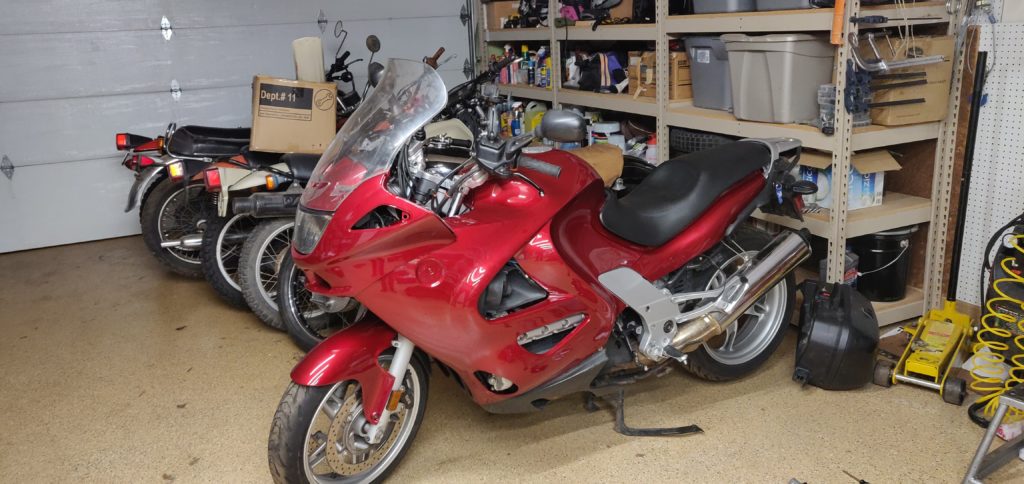
Sometime Back in February I went on a bit of a bike binge which included the purchase of a Yamaha YZ250R factory motor cross bike and this tired looking 2004 BMW K1200RS.
As with many of these bikes I buy they’re usually in need of something, and in most cases that something is usually starting with figuring out what’s missing and what’s broken. After that the joy of trying to figure out how the bike is to be put back together (as they’re usually in pieces). Such was this thing…
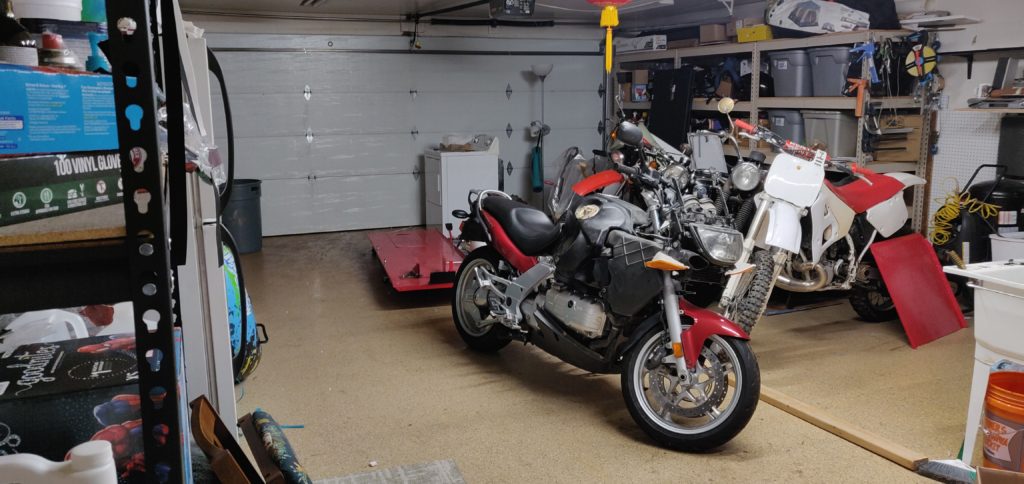
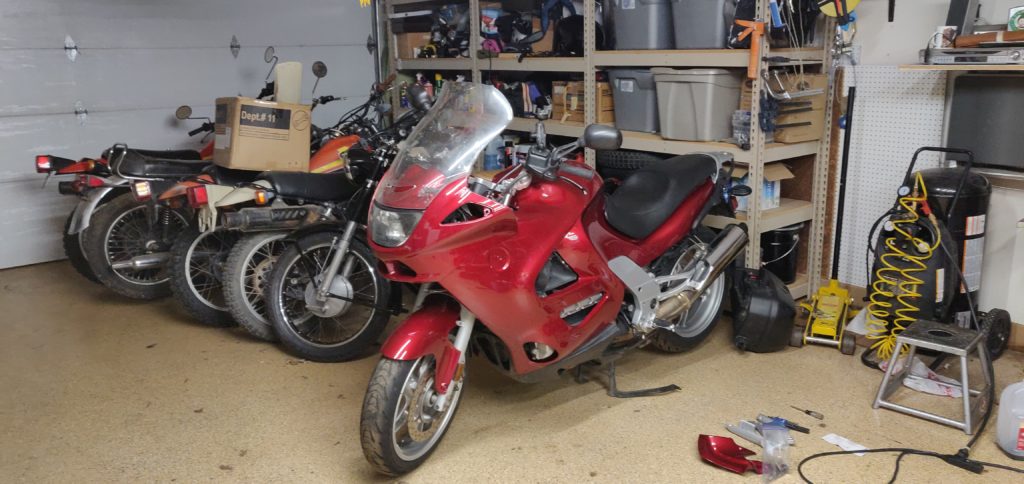
I managed to get the bike into the garage were it sat until I could get it properly situated. You might also notice the motorcycle lift behind the bike, that is one of the goodies I was referring to earlier.
The next day I had the motorcycle lift positioned and the bike tucked away next to the soon to be gone YZ250R. Oh, and did I mention this bike weighs 1100 lbs!!! I foolishly try to “hip it over” noticing that the bike was firmly planted to Terra Firma.
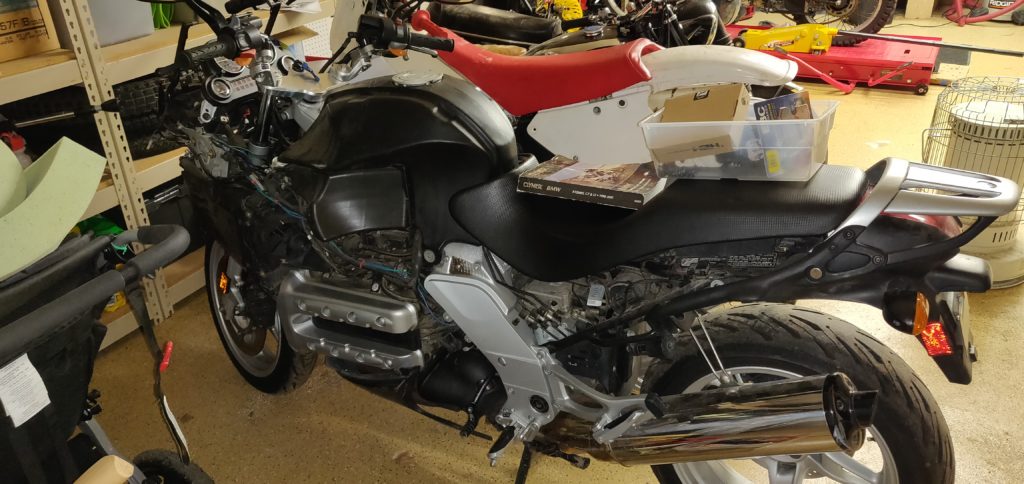
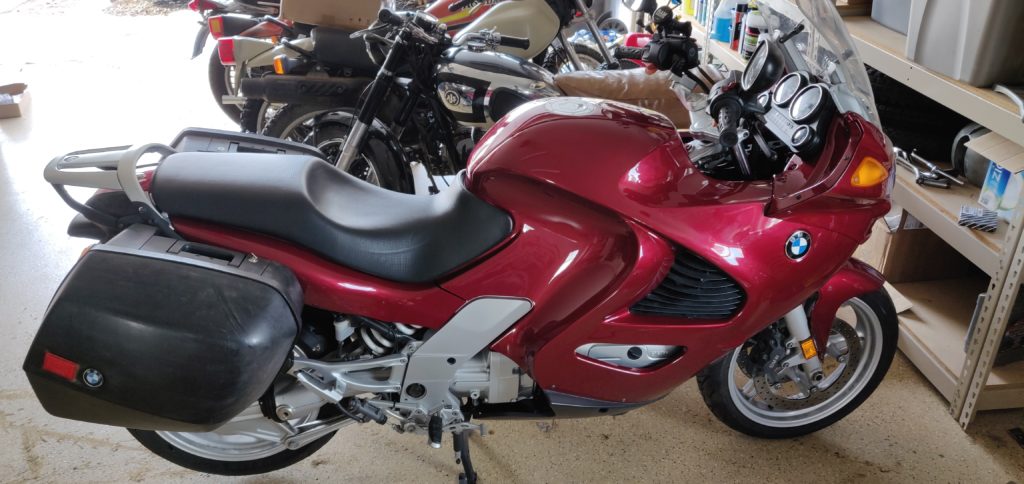
From there the bike sat pretty much doing nothing except being heavy and in the way while I fixed up the goat. After that I had some time to examine the panels.
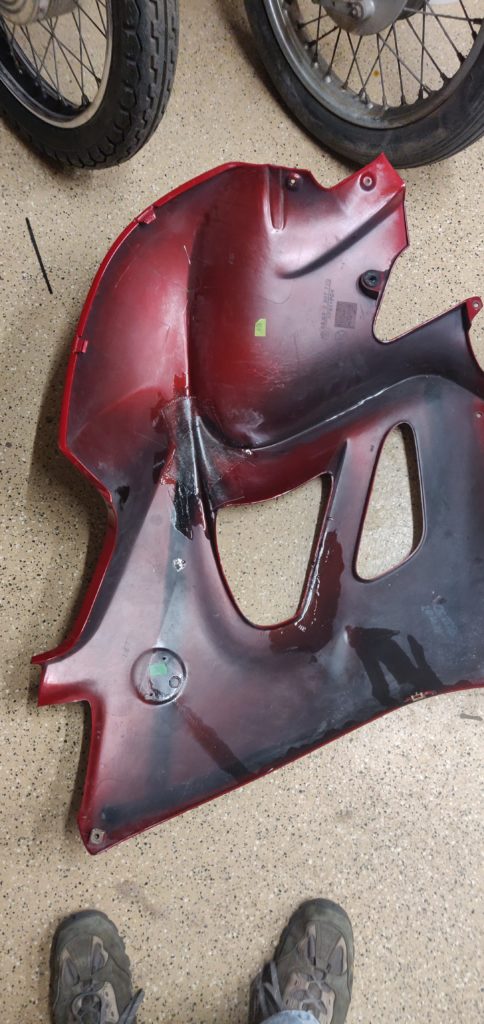
Sadly I can’t seem to find any images of the damage to the panels, I guess I didn’t care enough about it to take pictures, but from what I found, road rash, cracks, improperly removed sub pieces and loads of paint damage.
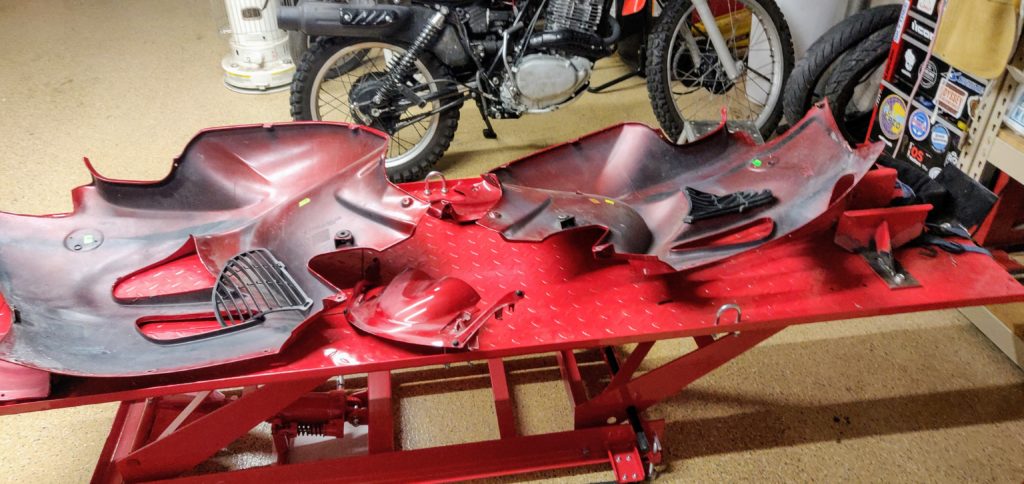
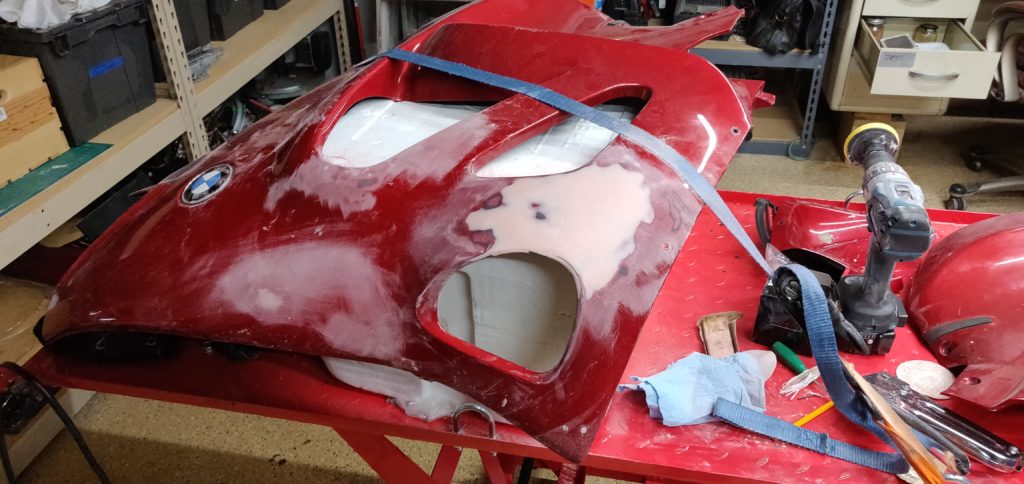
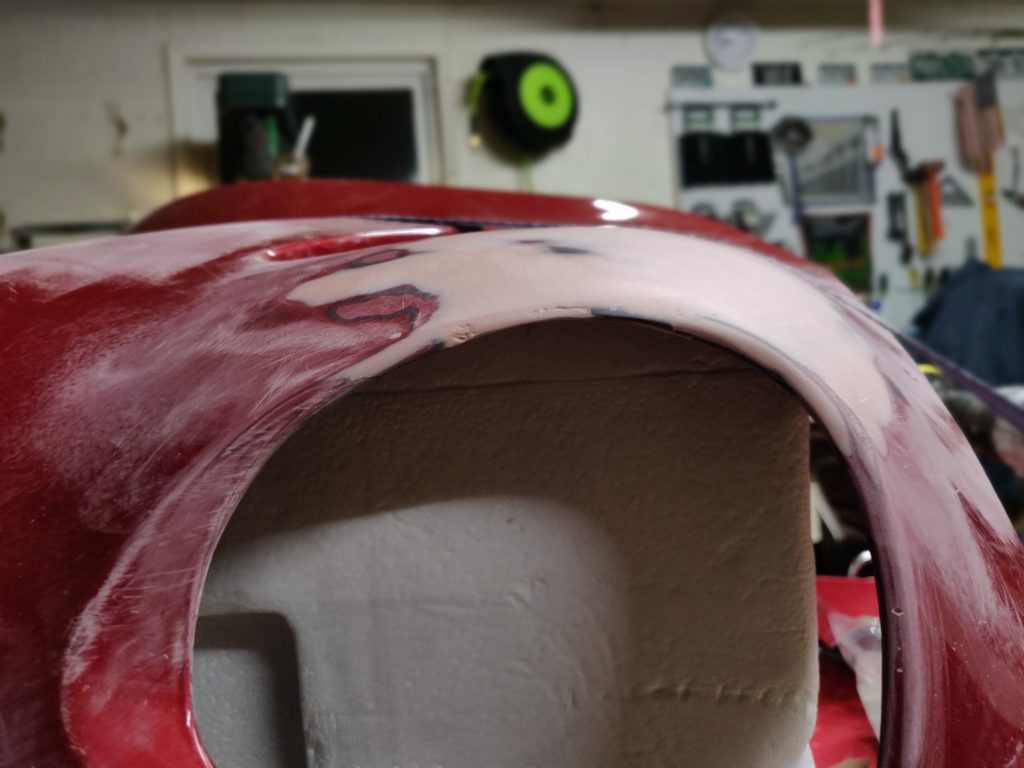
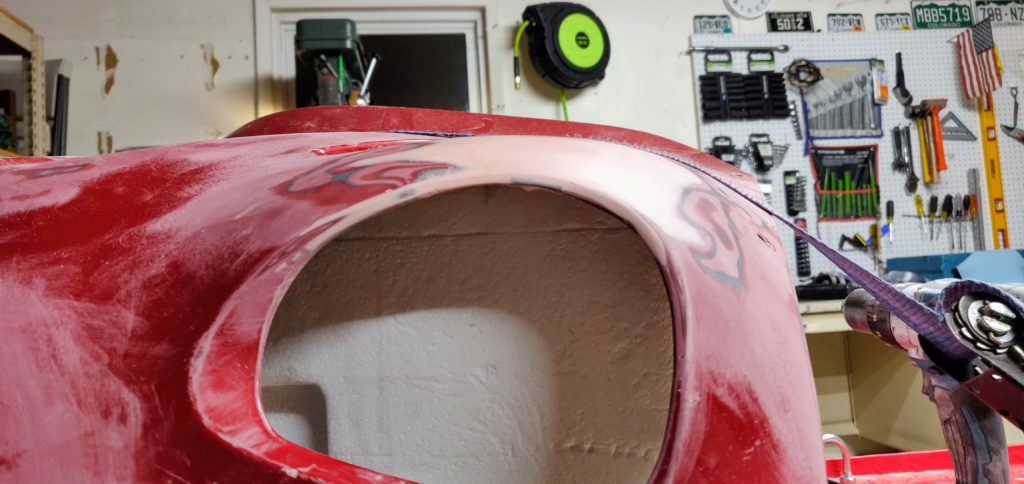
The worst of the damage was on the left side front fairing. Someone must have laid the bike over while it was moving and there was some significant damage to the scope/engine bulge cut out. The way I fixed this was to sand down the damaged plastic, rough everything up and then fiberglass it back together, using the original plastic as the guide. After that lots of sanding, and some filler to bring the shape back to what it should look like.
… and yes, I did use my hugely powerful Makita as a sander, I didn’t want to drag out my air sander (I really need to get a cordless one).
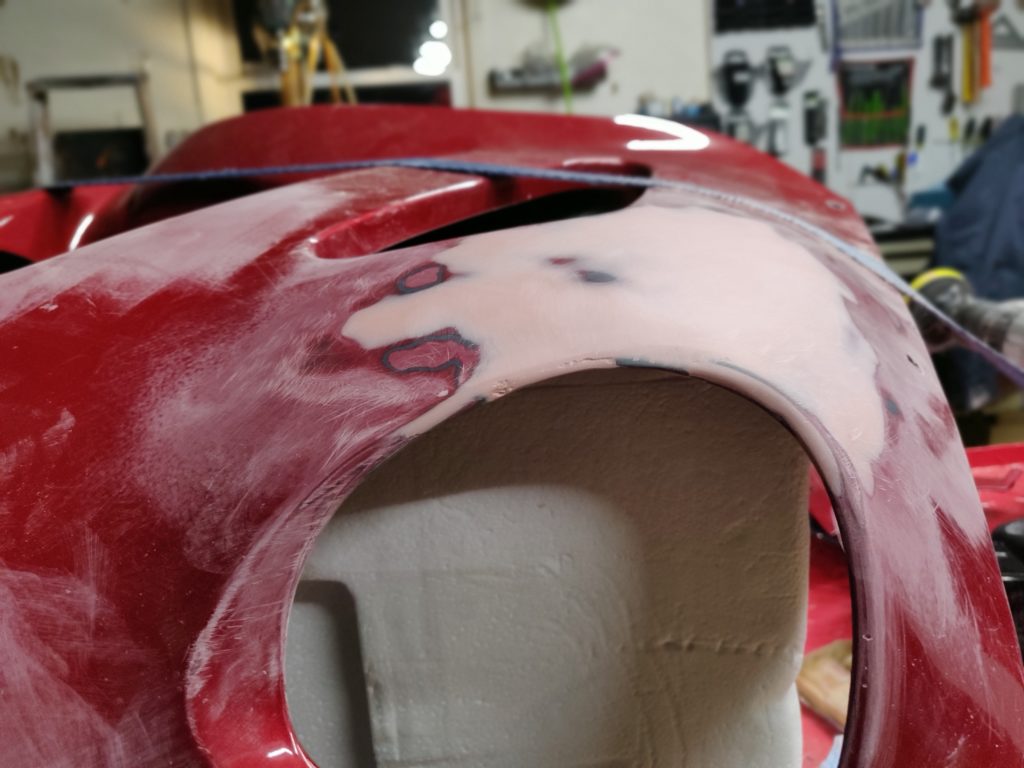
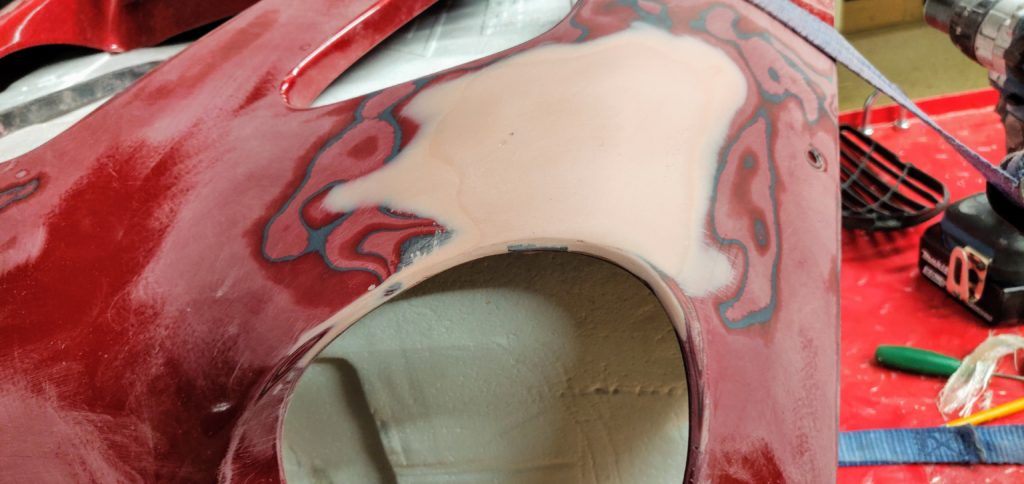
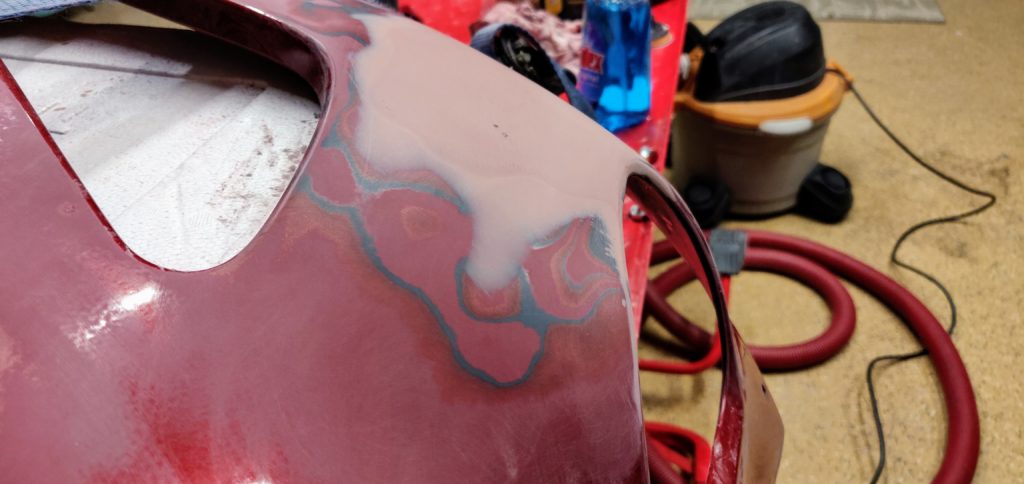
Once I was generally happy with the piece I primed it and sanding it a few more times to bring it up to paint ready condition.
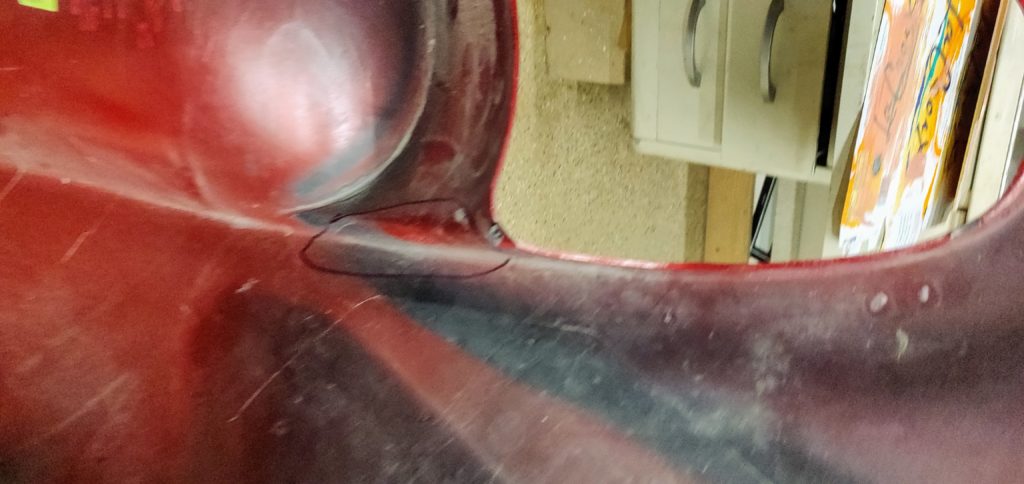
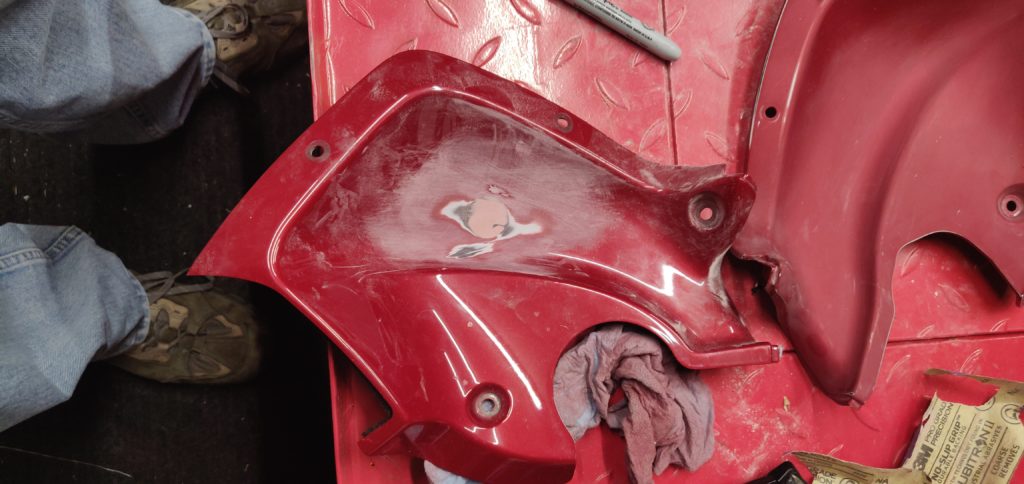
After that I focused on the other panel and its cracks, This one looks like most of the damage happened by someone trying to improperly remove the insert
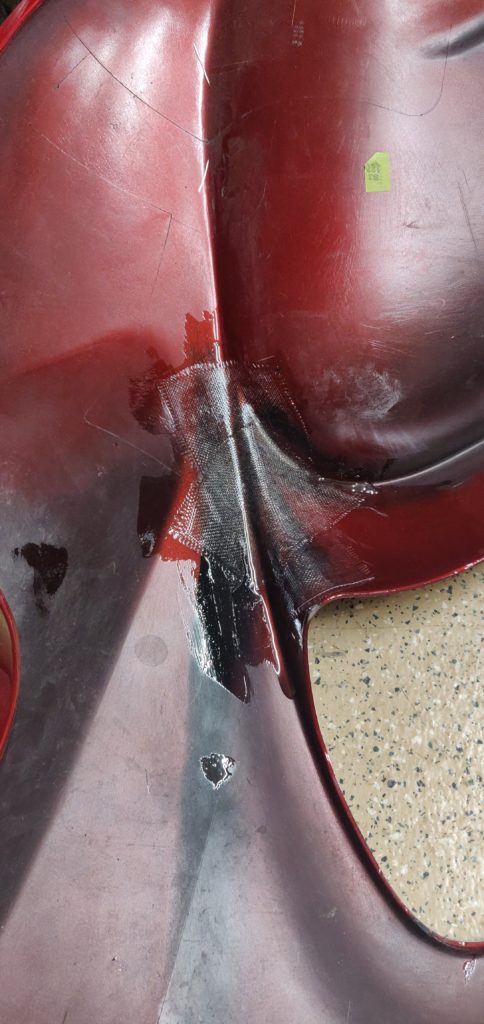
Found all the cracks and laid just enough fiberglass to keep it together. I also used glue in the cracks to ensure that there’s as much chance as possible that this stays together.
The next step was to get the cheap tank cover off of the top plastics. This thing was extremely stubborn and frustrating to remove.
My first step was to set the entire cover in the a sunny spot on a reasonably warm day. After it cooked in the sun for a while I then started to rip it off with a pair of pliers. I managed to remove the cover, leaving the 3M VHB tape residue behind (UGH!)
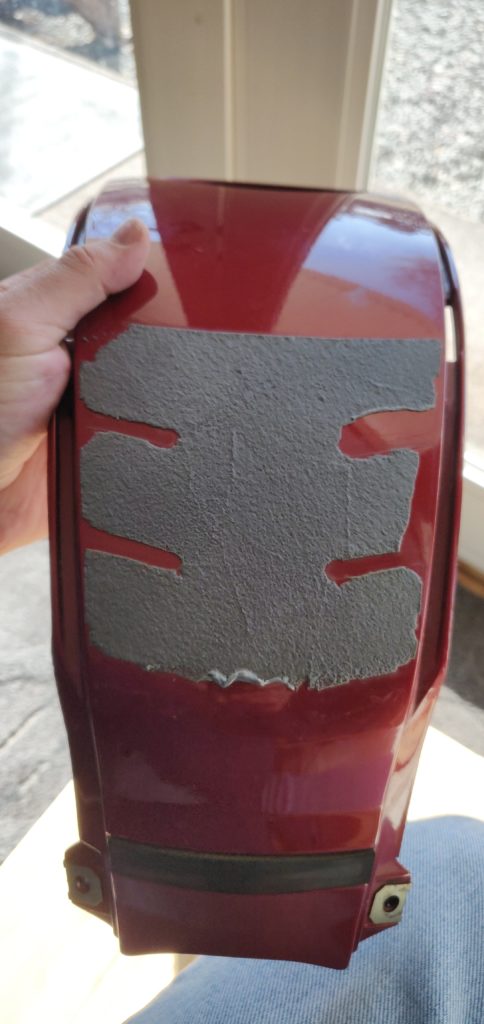
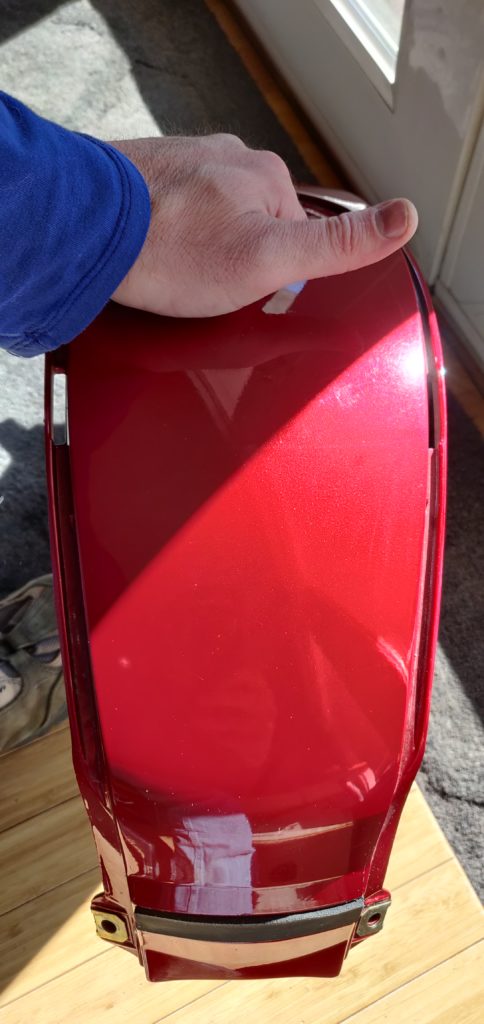
After some additional significant struggle I was able to rid the plastic of all the VHB.
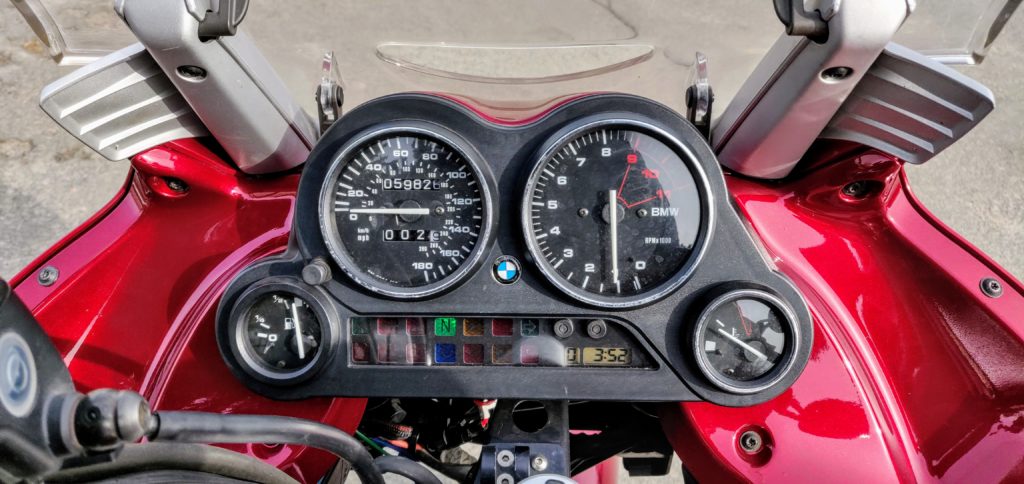
Now that this is done I could finish up repairing the hole the previous owner decided to drill in the console for a crappy automotive power adapter
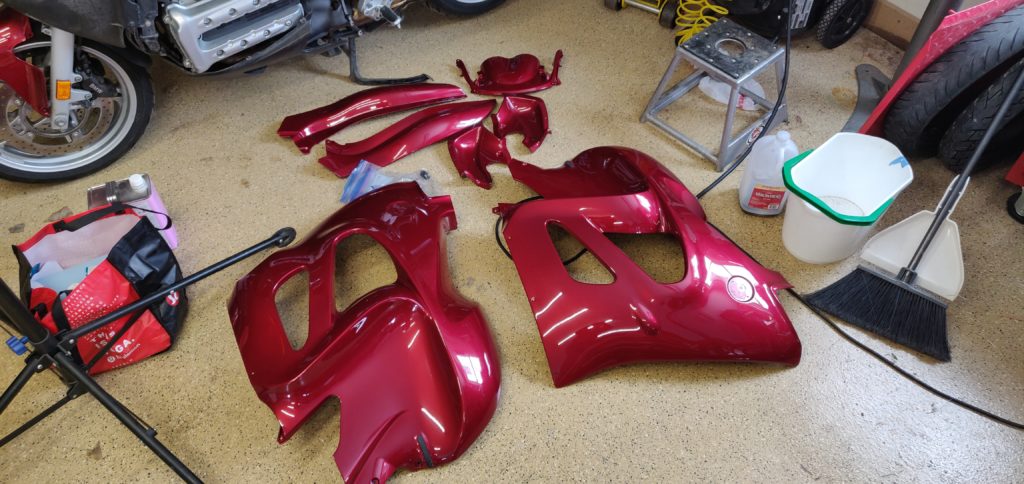
After that everything that needed primer got it and all the panels sanded with a 500 grit sand paper to provide a good surface for the paint to stick to
After a few quick phone calls around to my friends in the automotive industry I was able to get a spot to paint the parts. Did I mention that the previous owner supplied about $600 worth of PPG OmniPlus paint?
With in a few days my uncle in law came down and helped me paint the panels (He’s been painting world class best of show cars for decades)
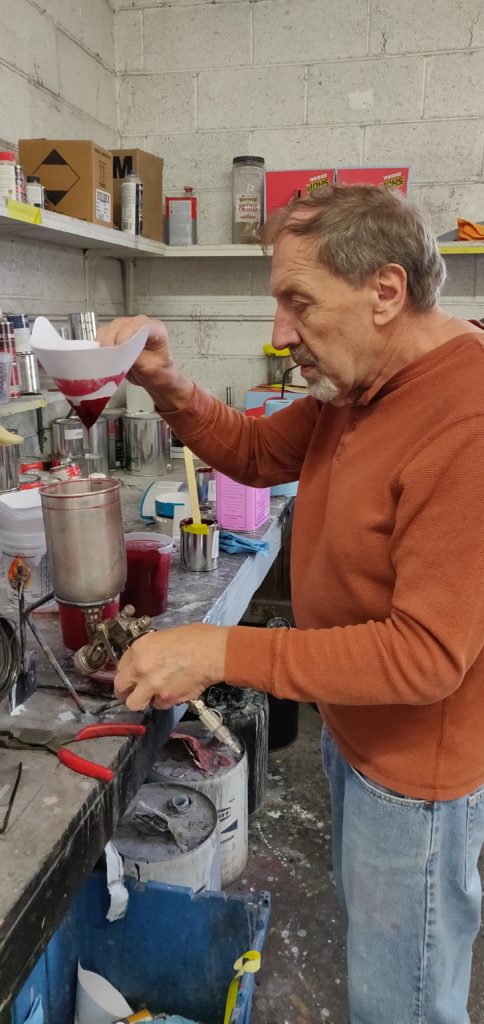
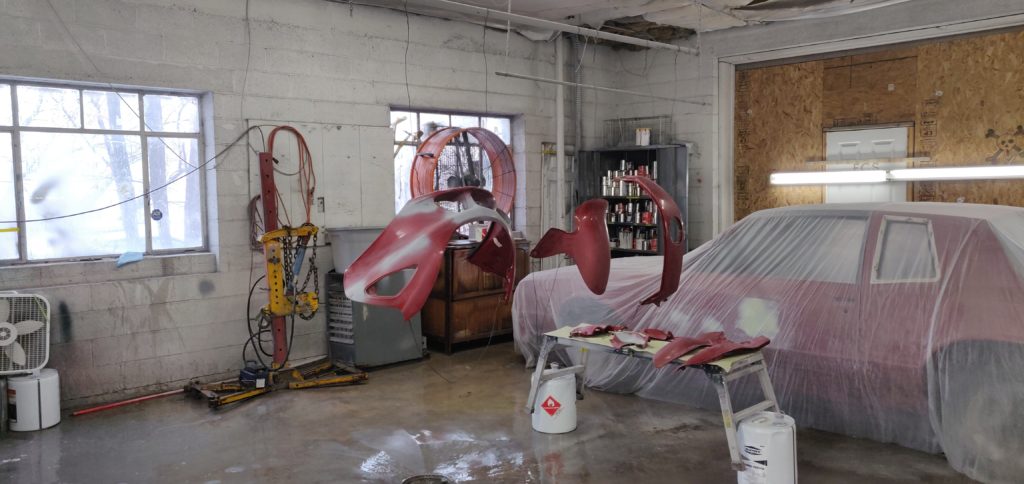
After a lot of PSSSSSHHHHHHH PSSSSSHHHHH PSSSSSHHHHH and 2 coats of base, 1 coat of tinted “candy” clear and the final coats of clear coat the painting was finished.
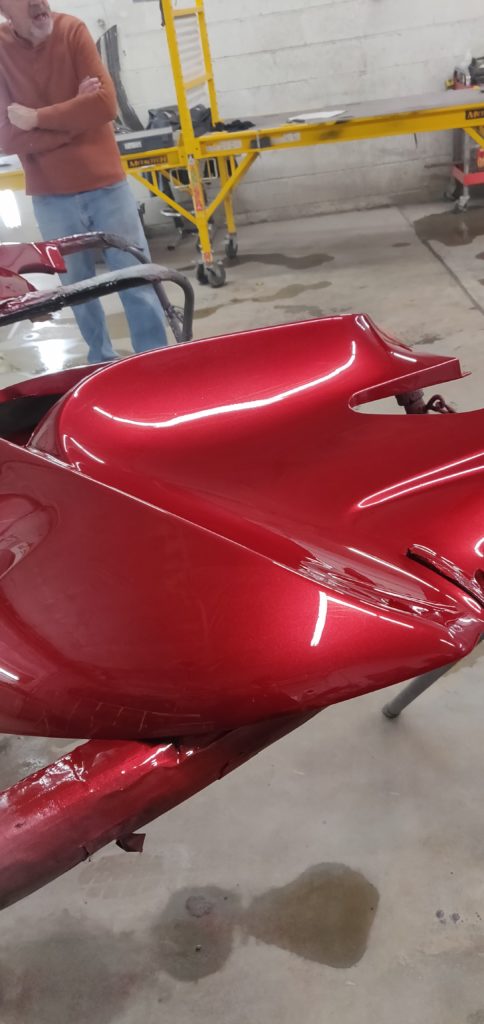
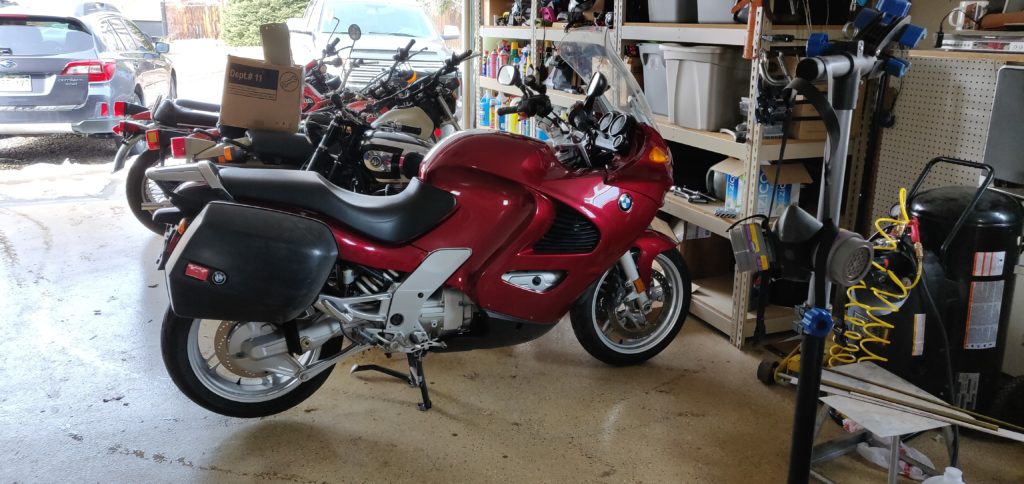
After another 12 hours to harden more I had the panels back in the garage ready to assemble on the bike
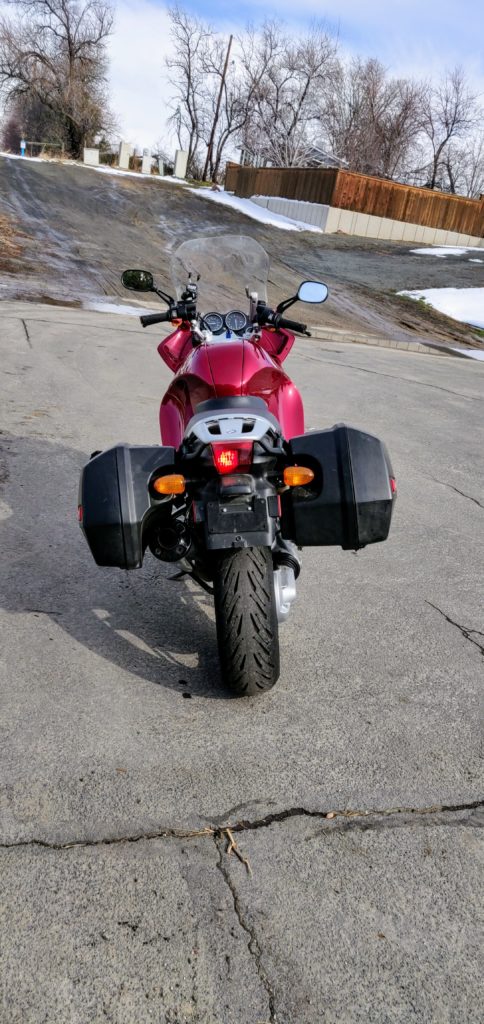
After that it was a matter of putting everything back together and taking it out for a test ride and a few pictures. I did find that one of the saddle bag pylons had cracks at the mounting points which was dangerous so I replaced it with one off fleabay
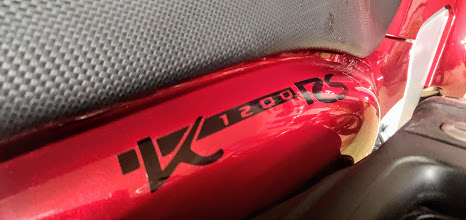
Once everything was on the bike I could get the decals installed
And then I could finally take some pictures out in the Sun.
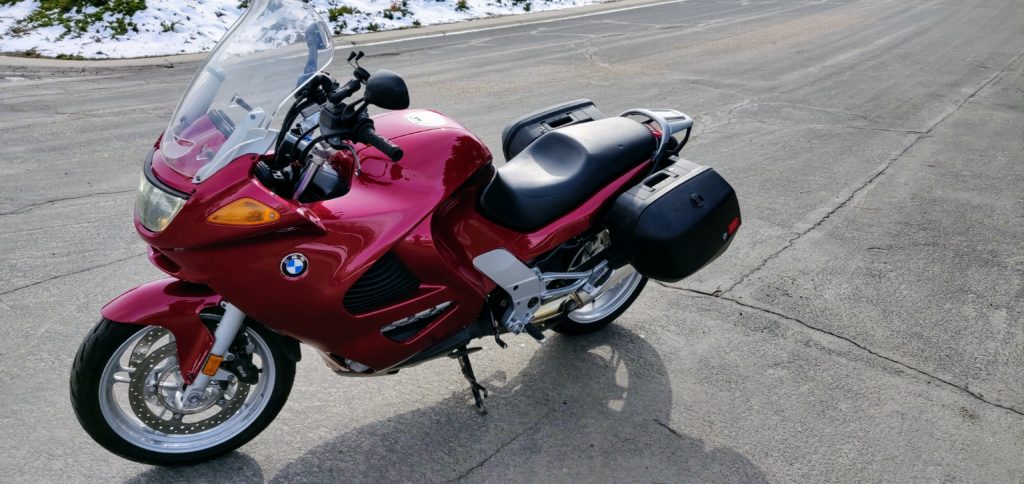
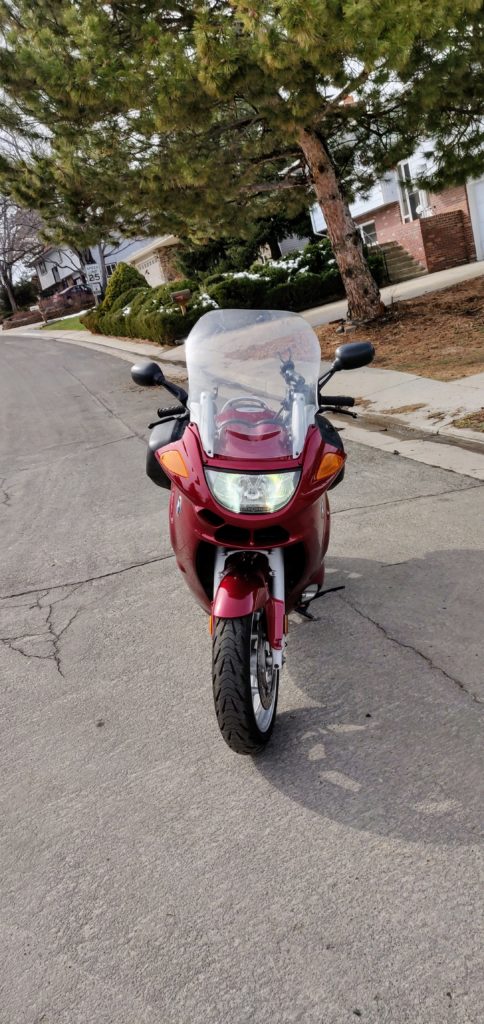
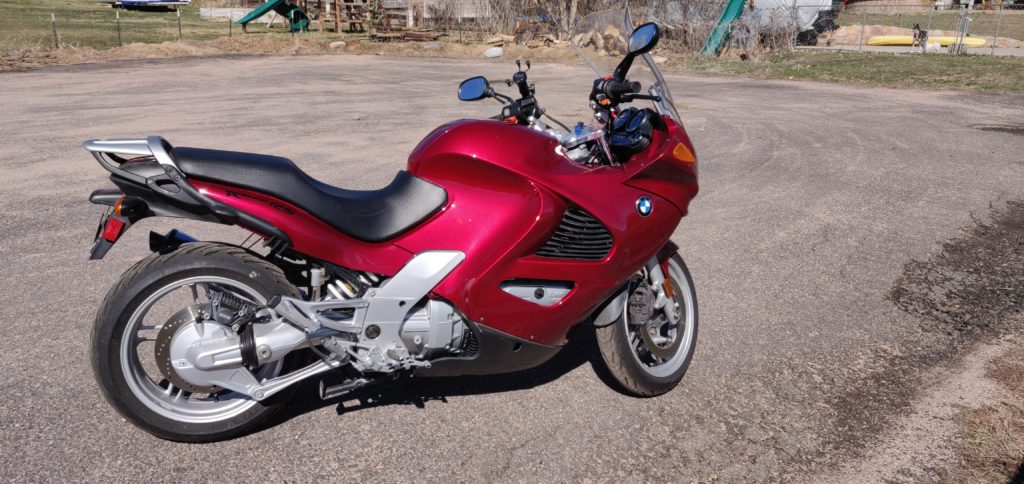
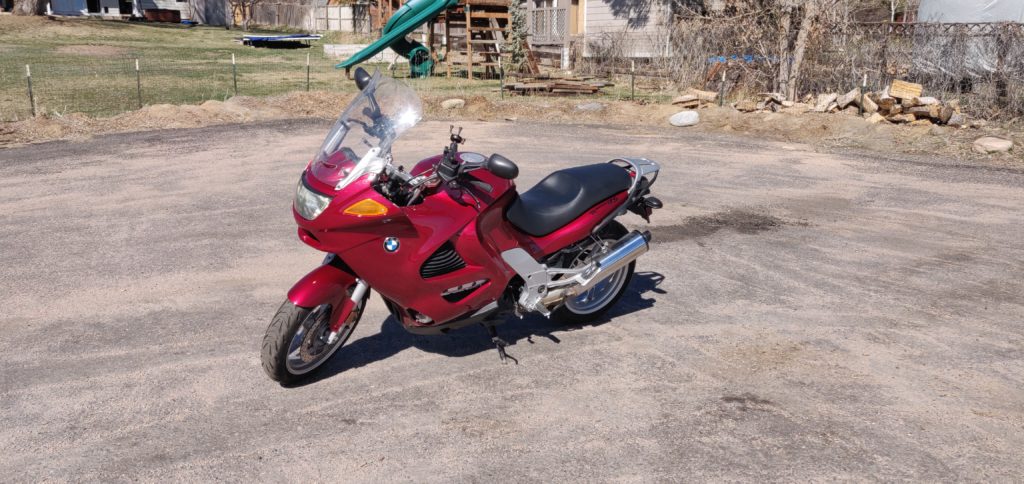
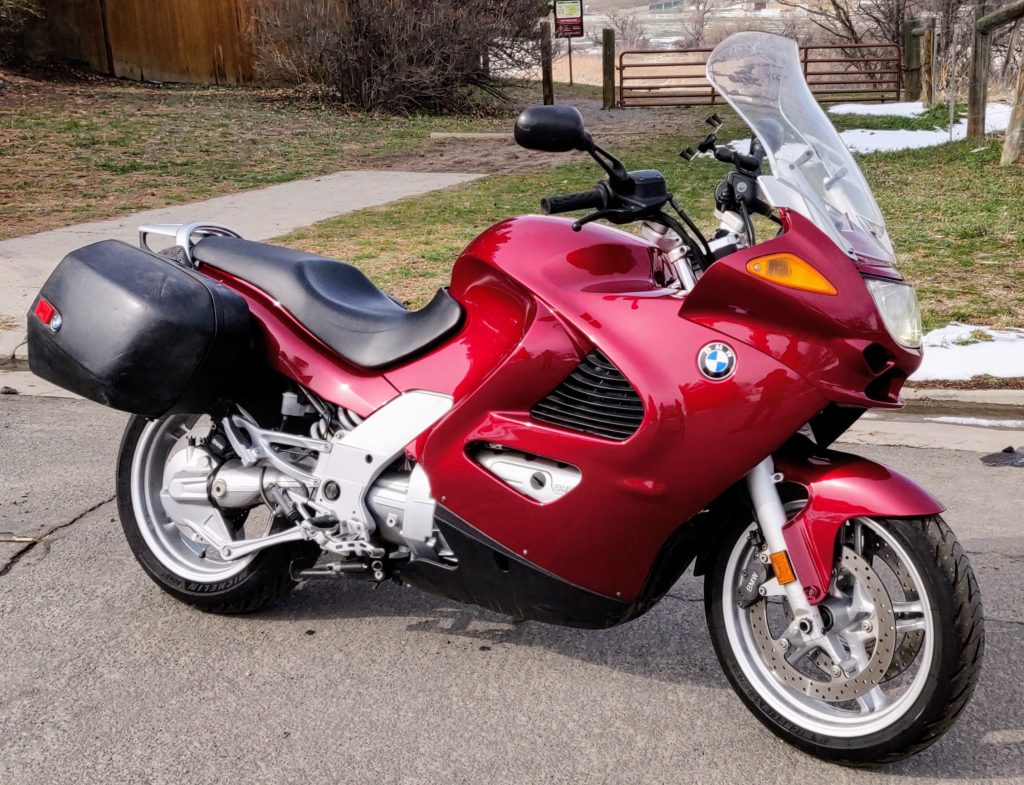
A nice looking machine again!