Fork seal job for the XS400 (reassembly)
Hi Folks,
Well I had a bit more time over the weekend to complete the fork seal job. I cleaned and polished all the critical bits, inspected the springs and pilot holes. the bits that needed it went into the ultrasonic cleaner and everything was well dried before any further work took place.
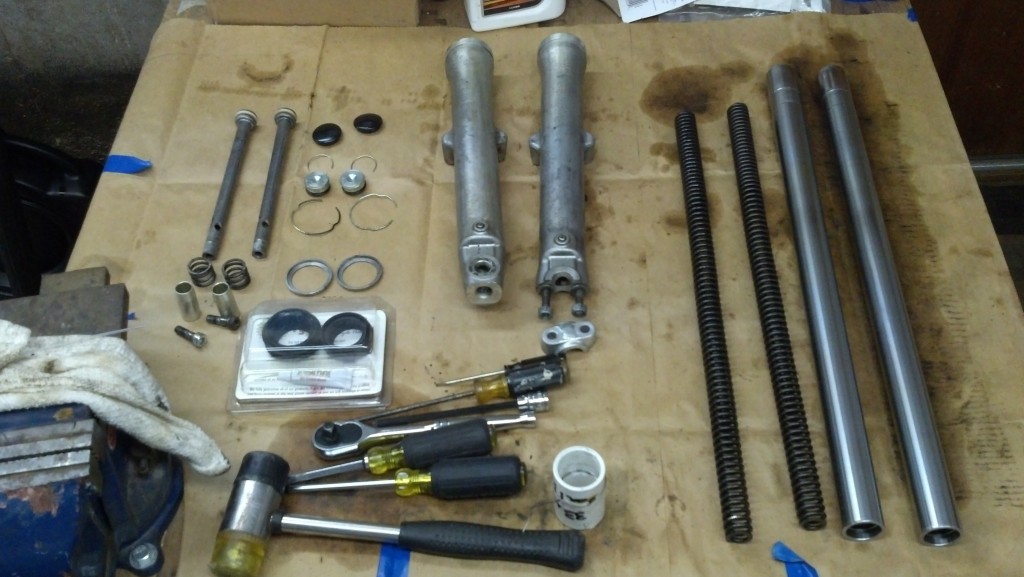
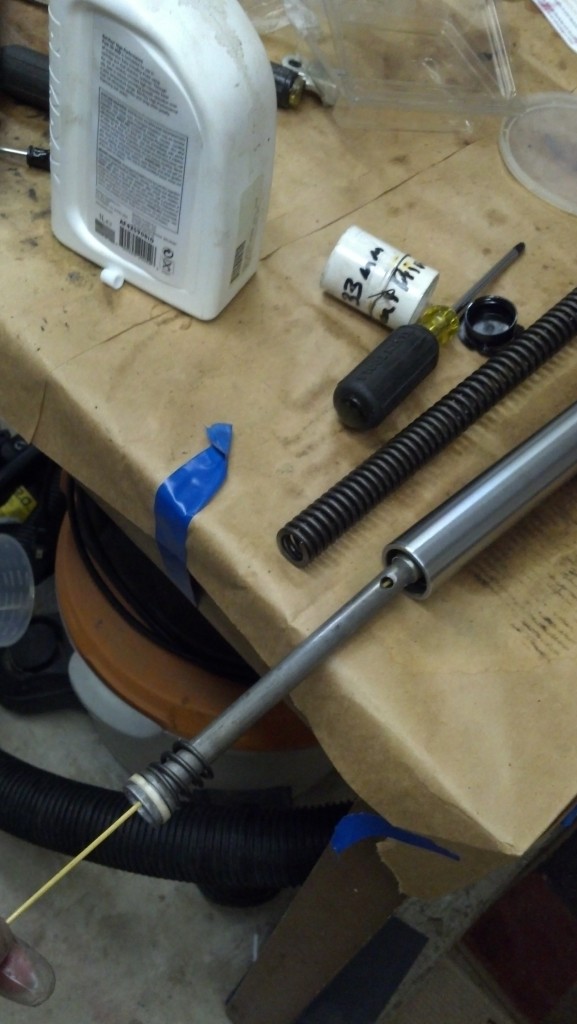
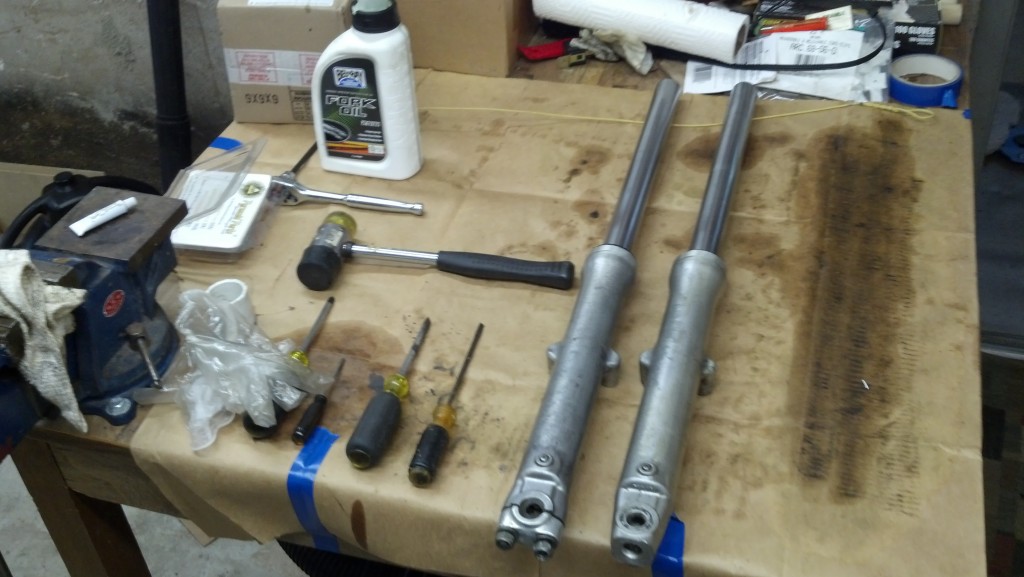
Once I had finished the bits I made sure to lay everything out on my work table to ensure all parts are still present and available. Some bits got reassembled right away, such as the nylon slides on the damper spindles and the bleeder screws on the main fork tubes (I didn’t want to lose these tiny parts):
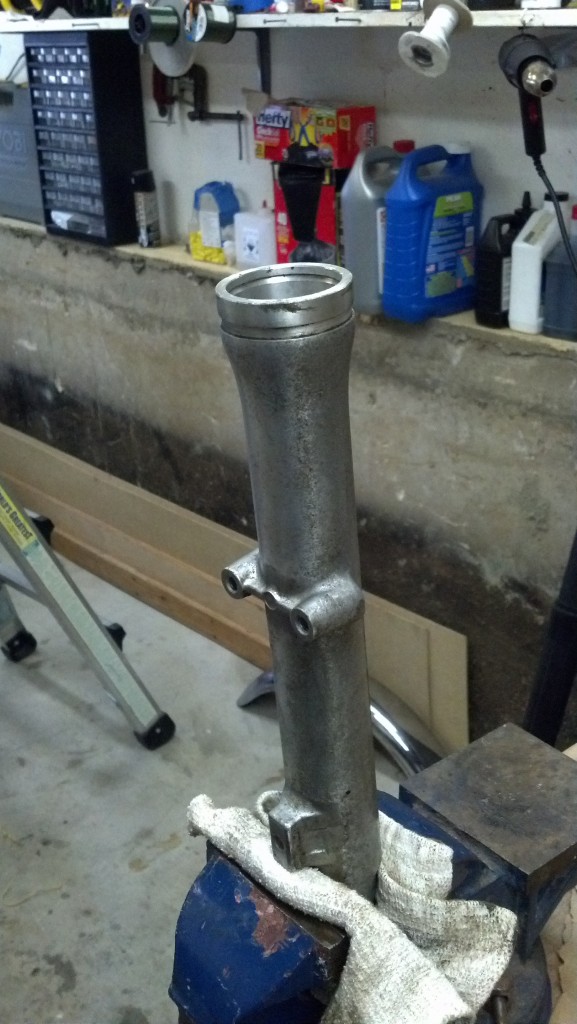
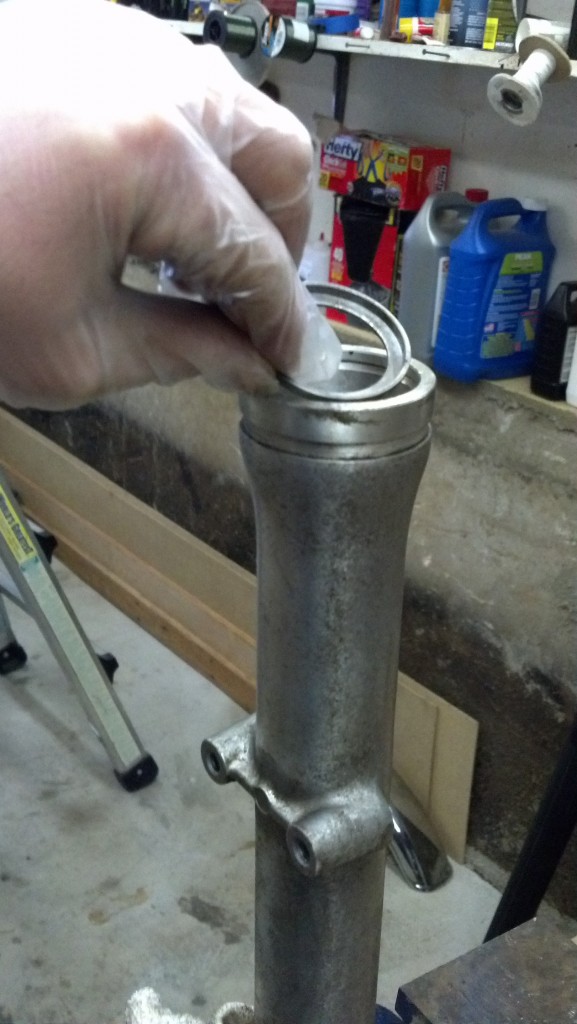
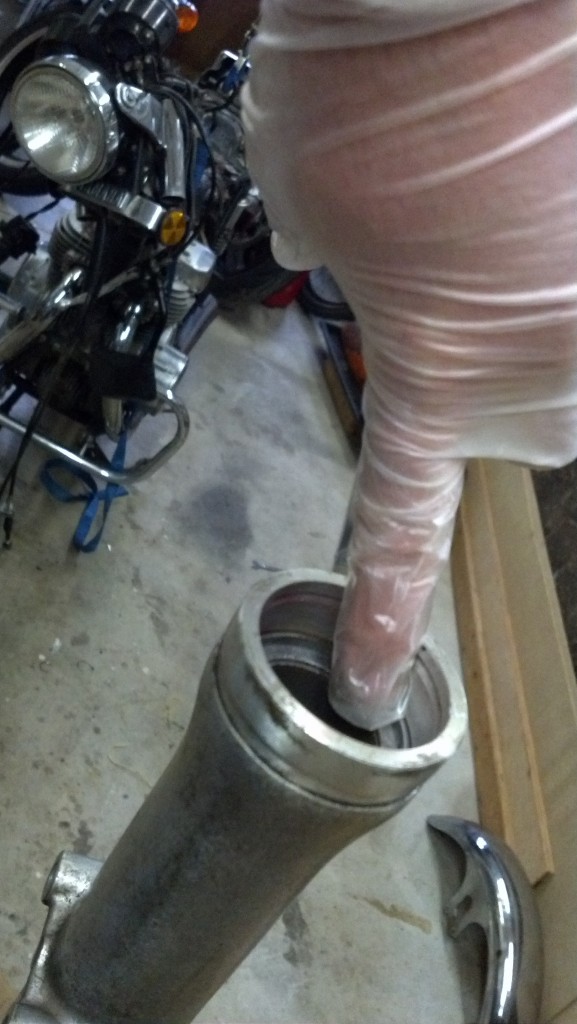
So now that we know everything is still here, step one is to lock the fork tube into the vice and insert the seal seat:
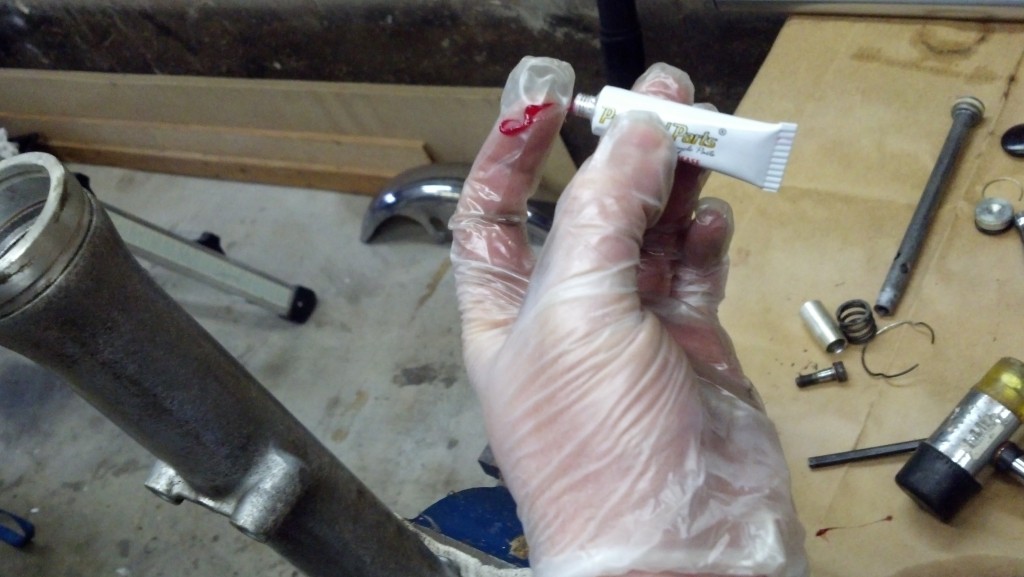
Once the seat is reinstalled the next step here is to use a small amount of rubber safe heavy grease around the inner fork tube were the oil seal will mate with the metal. This is useful in reducing binding of the rubber while you’re driving the seal down into the fork tube:
Again, a little bit goes a LONG way and we don’t want globs of this stuff in the fork tube.
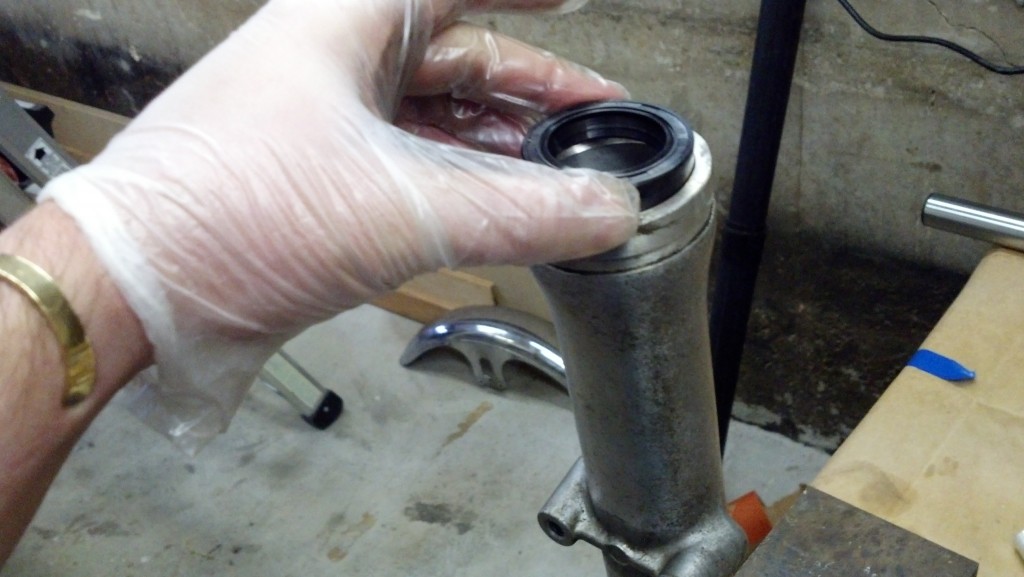
Next set the oil seal back into the fork tube. Make sure that the sealed side (the solid side) is always up. Carefully press the seal in by hand as far as you can go. Make sure that it seats evenly.
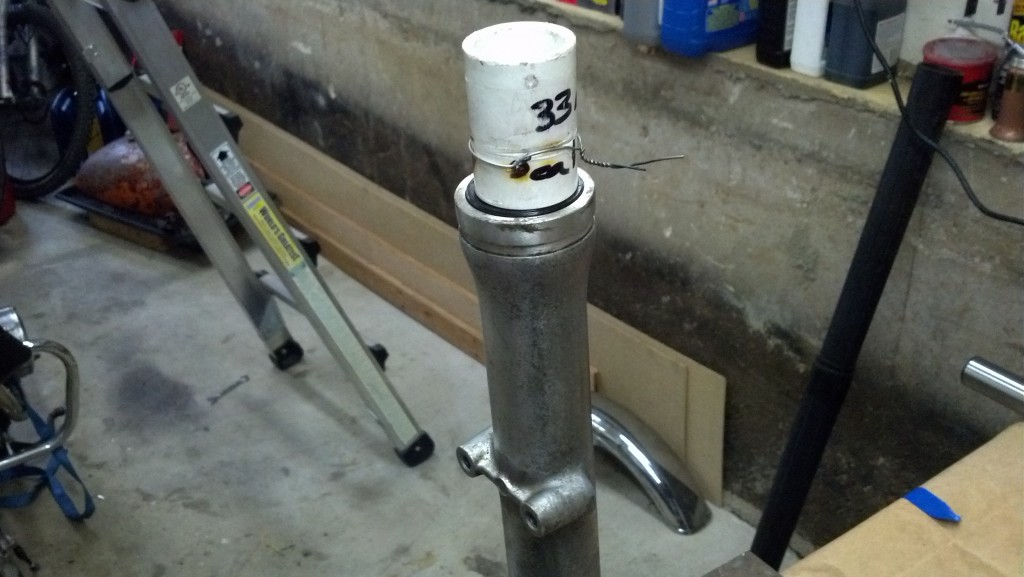
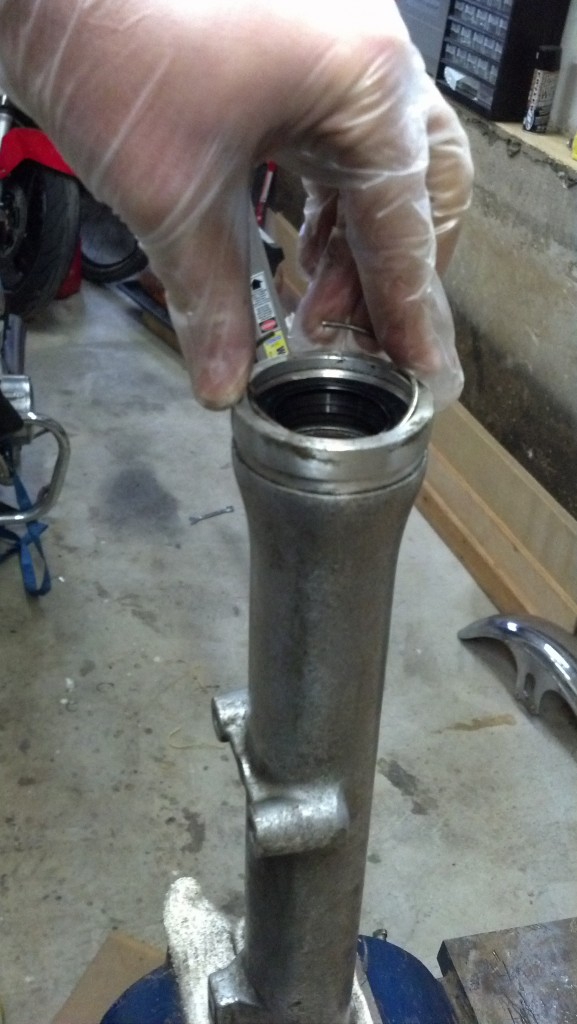
Once pressed in as far as you can get it by hand use your fork seal driver and a hammer to set it the rest of the way down. It should seal past the seal locking spring groove. In my case I used a bit of PVC piping that just happened to be exactly the right size for 33MM fork seals:
As you can now see from the image blow, the seal is seated far enough down that the locking spring can cleanly snap into place:
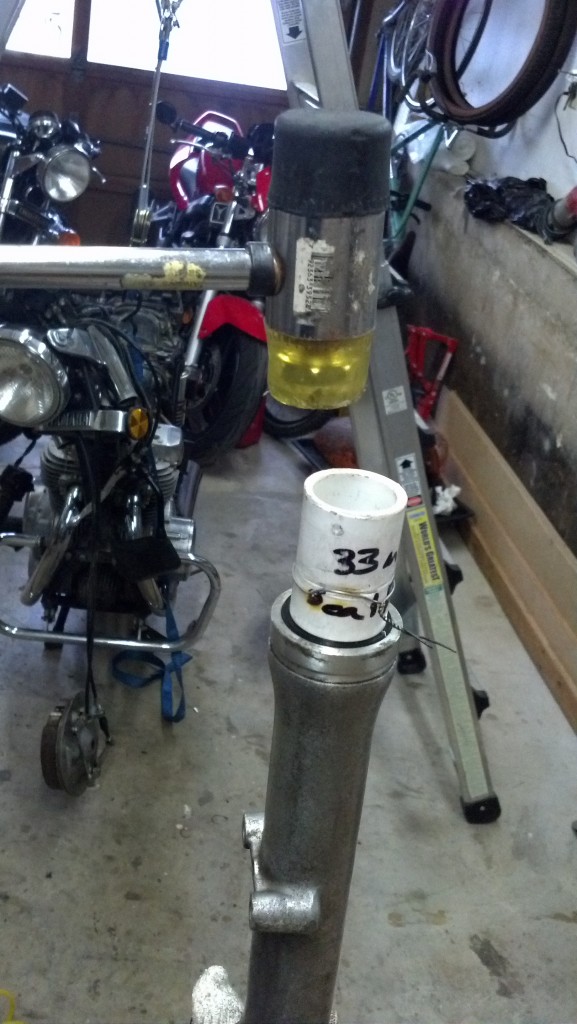
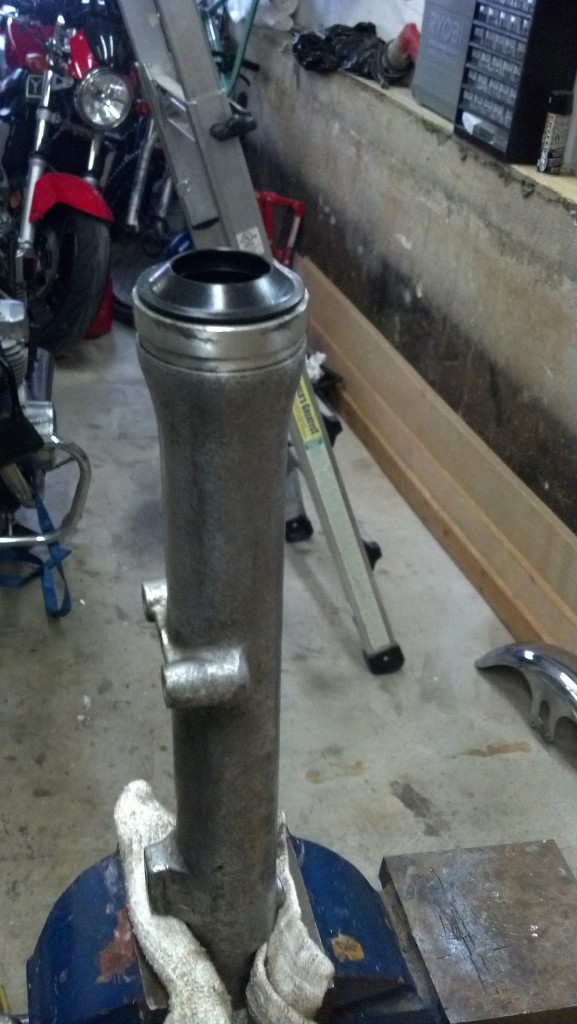
The next step is to install the new dust wiper, you could do this after you reassemble the shock more completely however I’ve found with the “inner” style wiper, it’s a lot easier to drive it into place without the inner tube assembly in place:
All done with the lower fork tube at this point. Now we need to reassemble the inner tube assembly. Below is an image of how this assembly will look once fully installed within the fork tube:
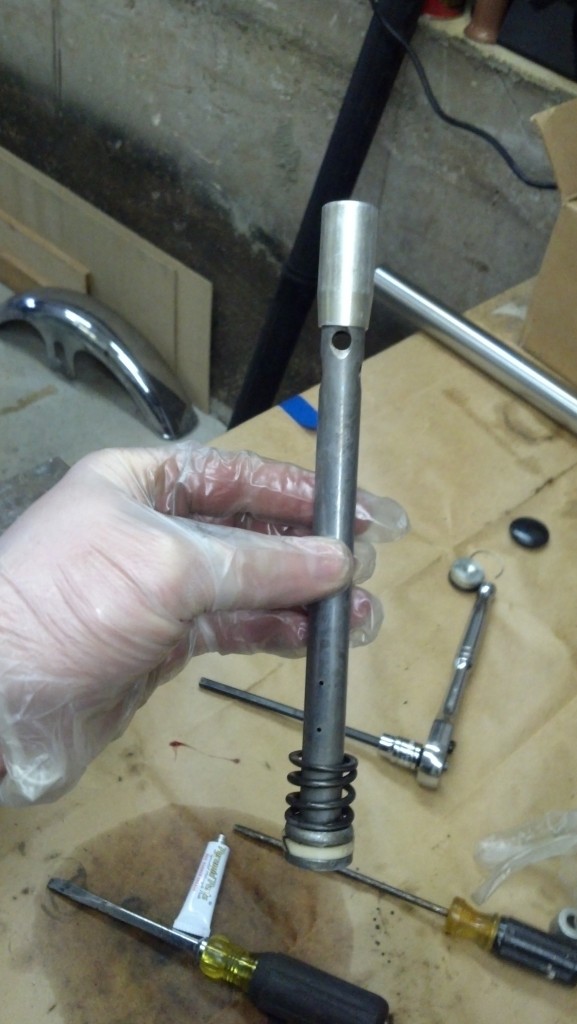
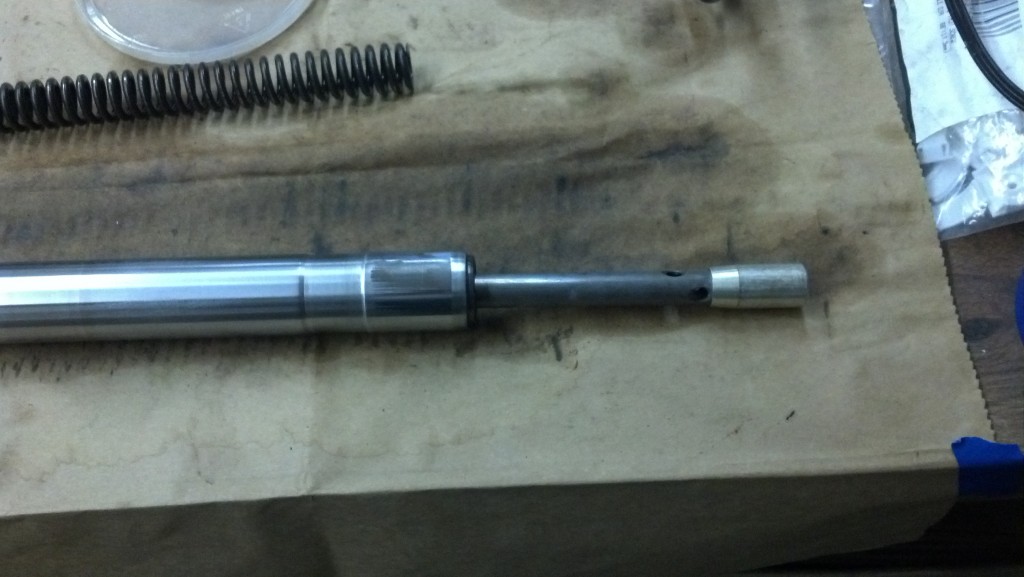
Note that the shiny aluminum part on the top (the taper spindle) will NOT be on this assembly while I’m setting it into the inner tube assembly. Prior to inserting the bottom end (the non-spring side) into the inner tube assembly it should look like this:
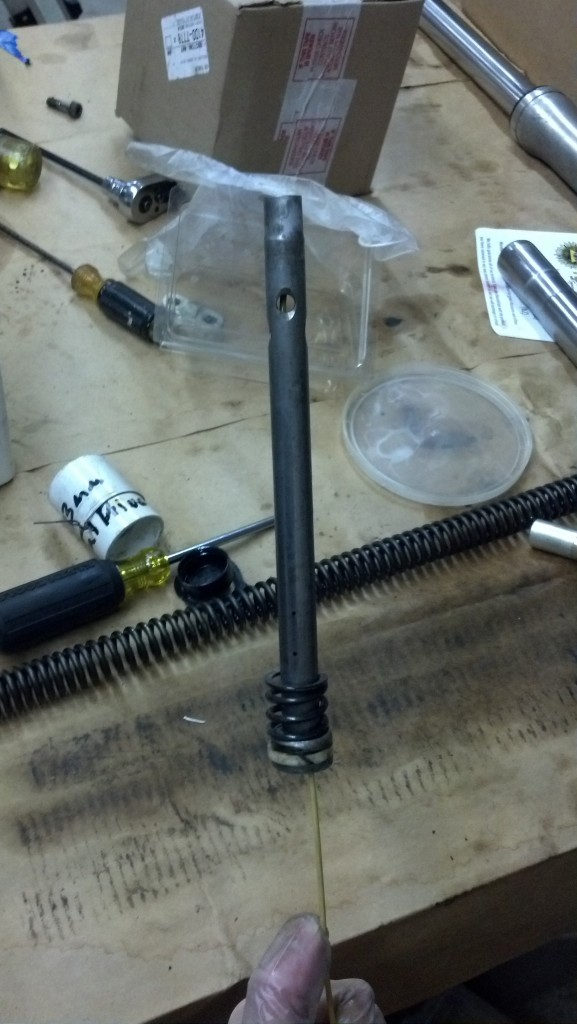
Next guide the damper spindle, and rebound spring into the inner tube assembly. I use an old wire hanger to push this through as the nylon guides will tend to stick a bit, however the main spring works just about as well to guide it in. Also, you’ll also want to do this while the tube is laying down as it makes it MUCH easier to keep the springs in place as well as threading the spindle through the lower inner tube assembly:
Once threaded through successfully reinstall the taper spindle:
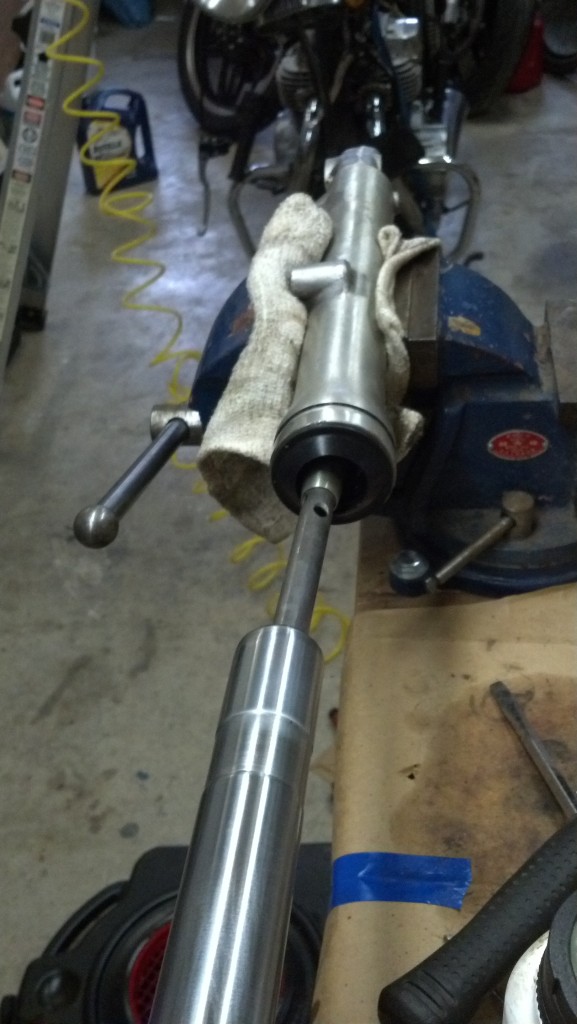
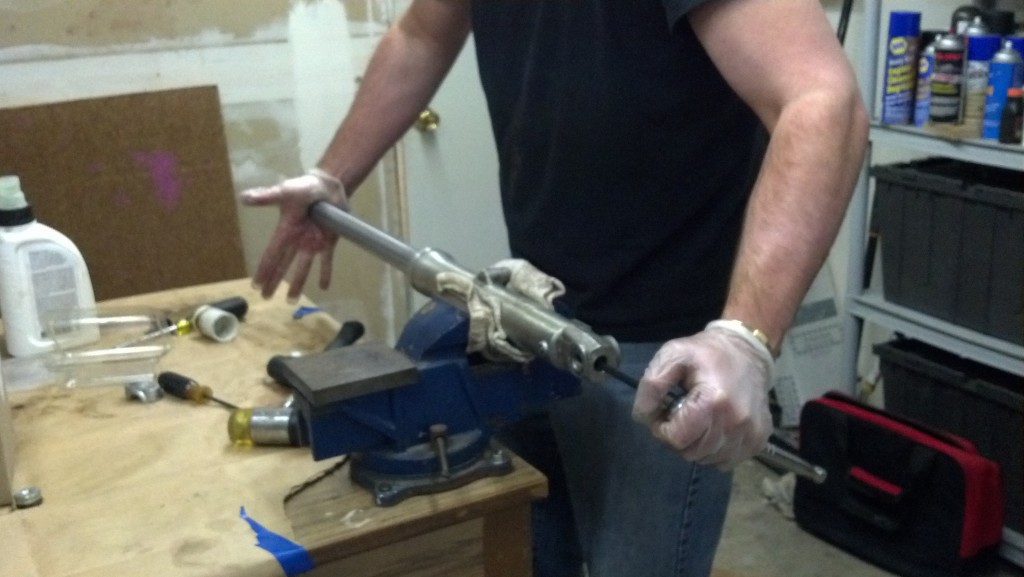
Now reposition the lower fork tube so that it’s clamped horizontally. After that carefully guide the inner tube assembly into the lower fork tube:
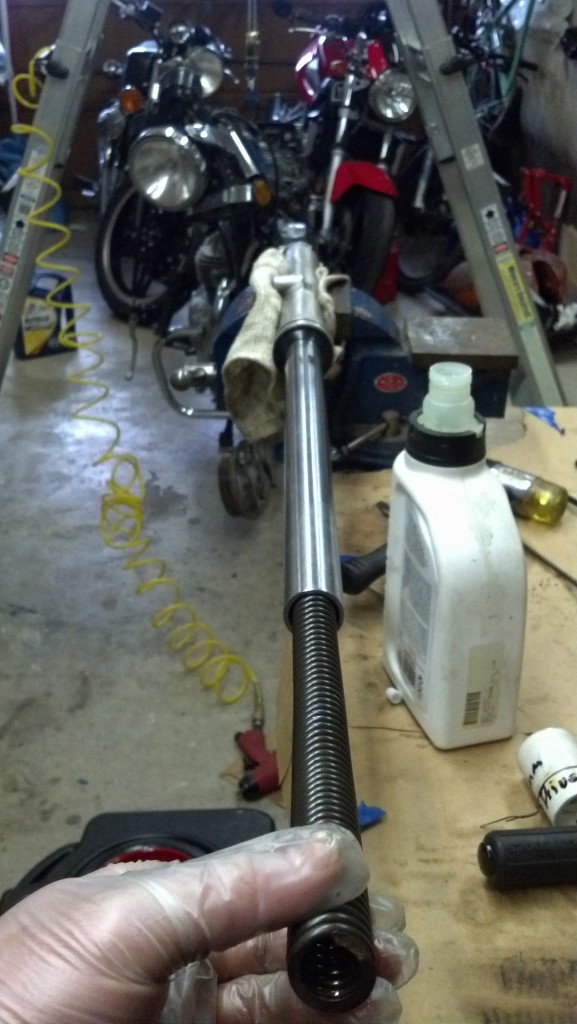
Next temporarily insert the main spring down the inner tube assembly:
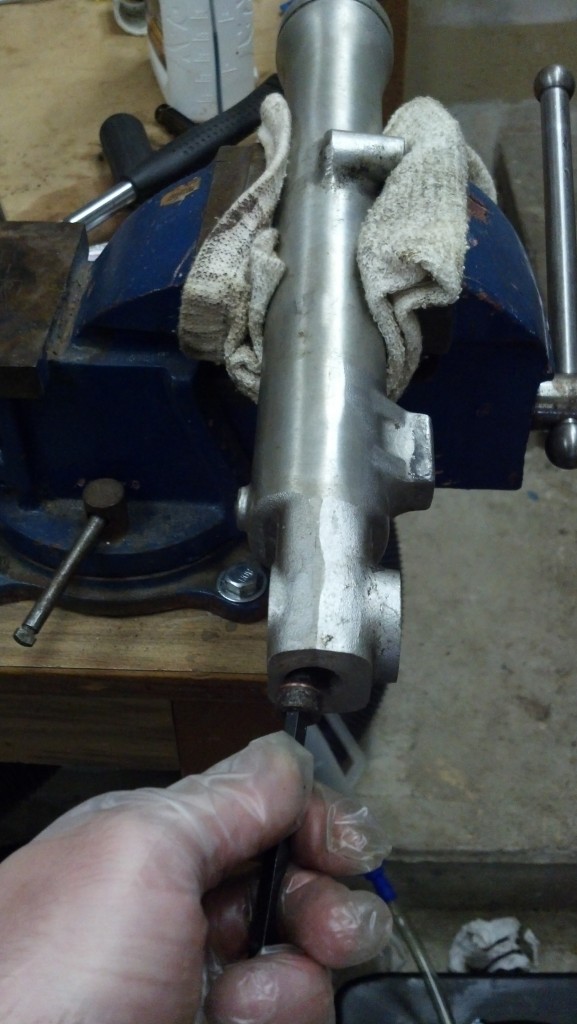
Using the main spring to keep the damper spindle in place, thread the damper spindle / rebound stay bolt back into the bottom of the fork tube. At this point you should be able to get this threaded with out much problem. Use the spring to apply pressure so that the threading is assured.
Using a lot of pressure on the main spring, perform the final tightening of the damper spindle / rebound bolt. Refer to your manual for the exact torque values, in my case it said “tight” which I took to mean around 15lbs or so. The manual also recommends using a thread locker, however I find this unnecessary and problematic in the future if you need to get back in there.
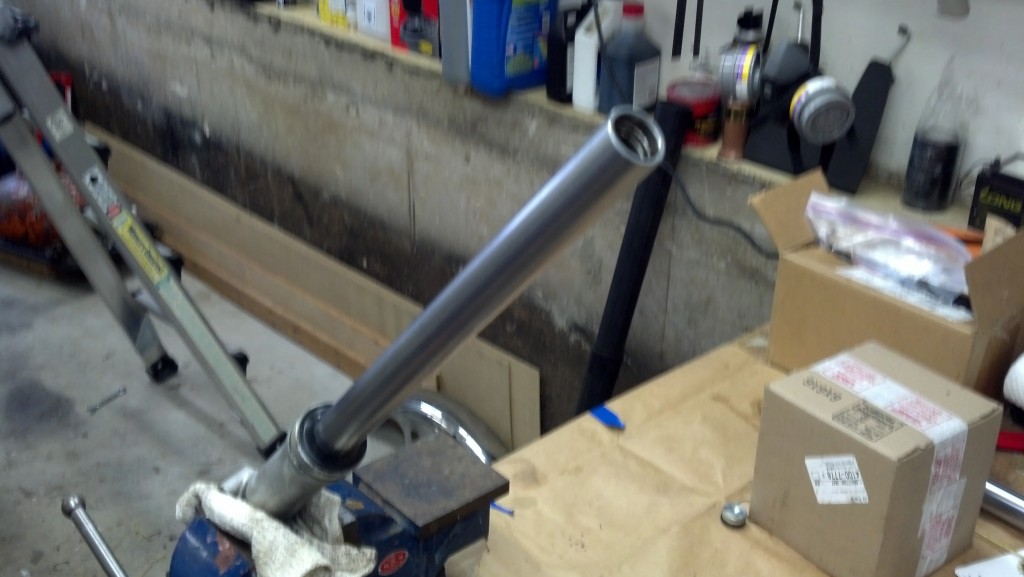
Once tight, reposition the now nearly complete assembly in the clamp so that it’s held at a mostly vertical angle
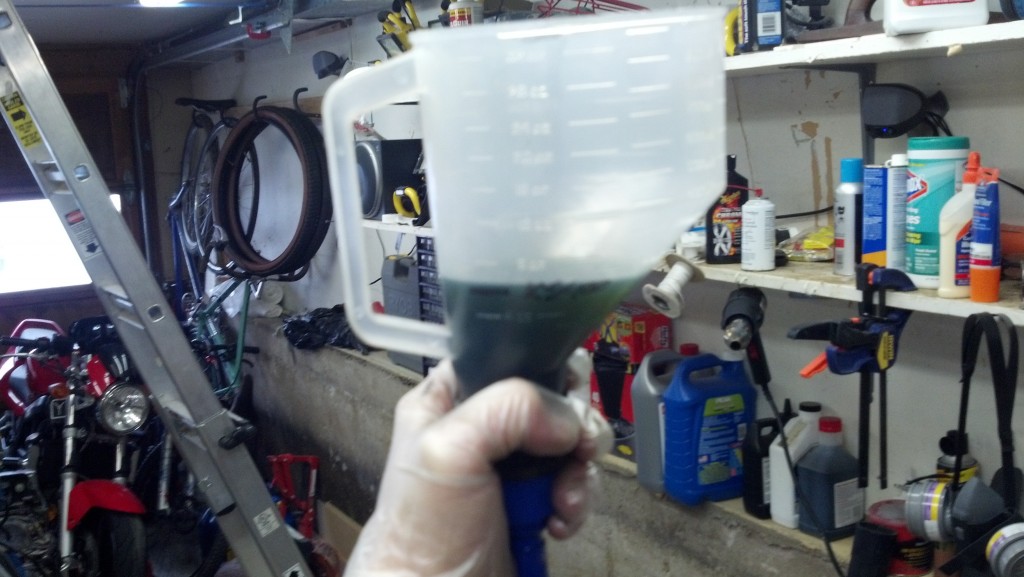
Now measure and fill the fork tube with oil
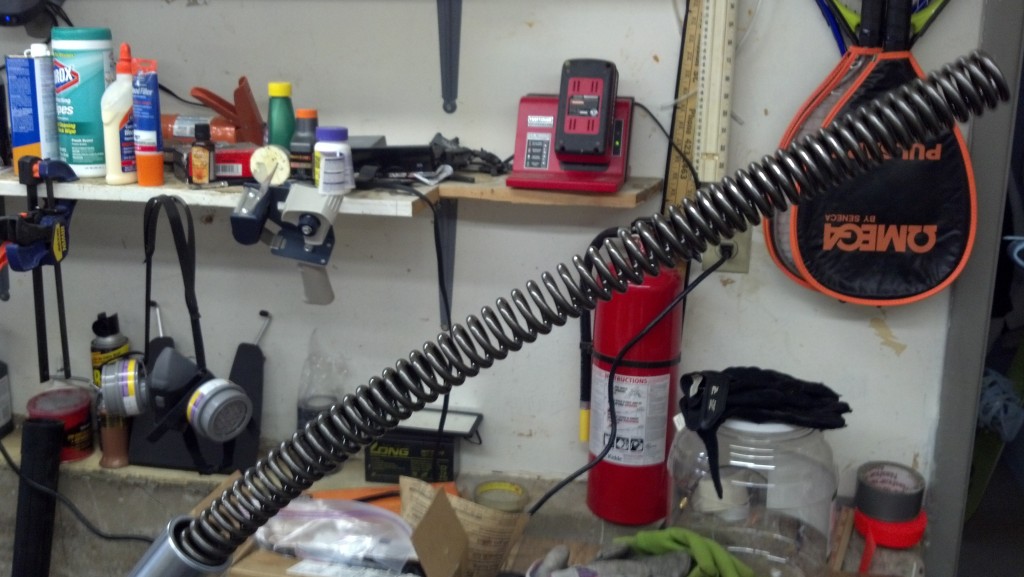
Now slowly insert the main spring back into the inner tube assembly. Remember you don’t want to yank it back out again as it’s covered in oil. Also note that on progressively wound springs the tighter windings need to go to the top of the shock assembly
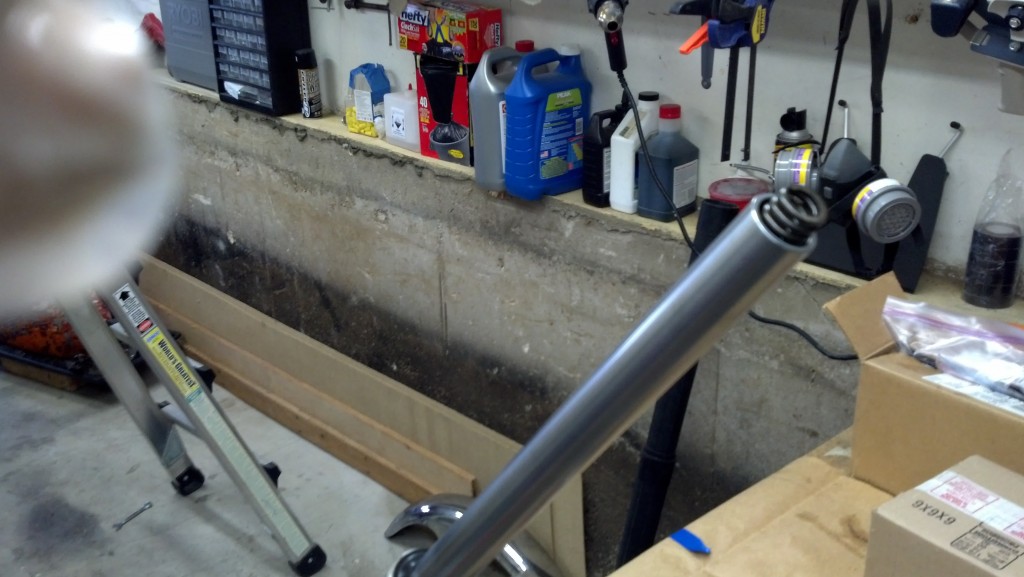
Once inserted all the way you’ll notice a bit of the spring still coming out of the inner tube assembly. If it’s much more than this try tugging on the inner tube assembly so that it’s all the way extended
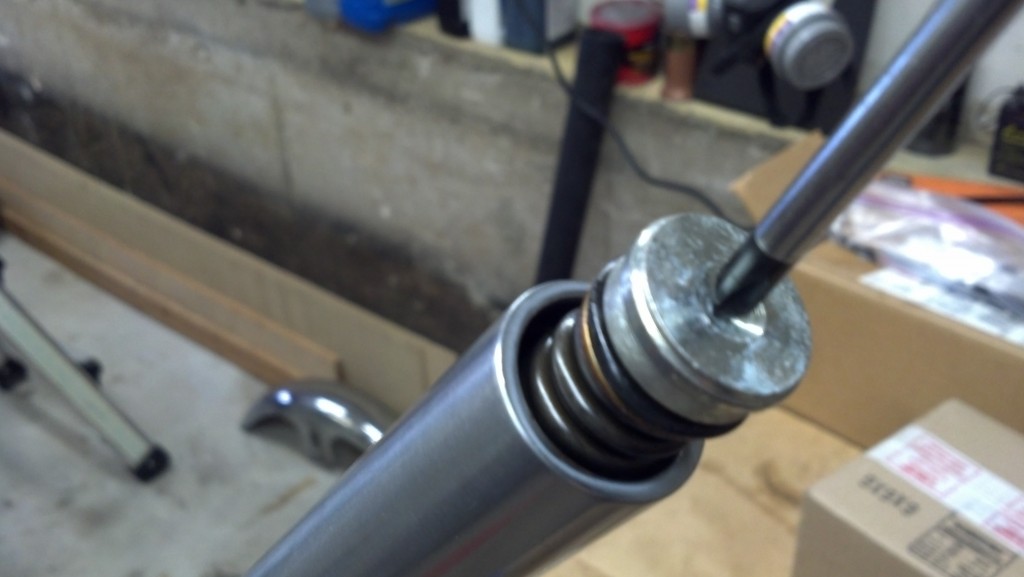
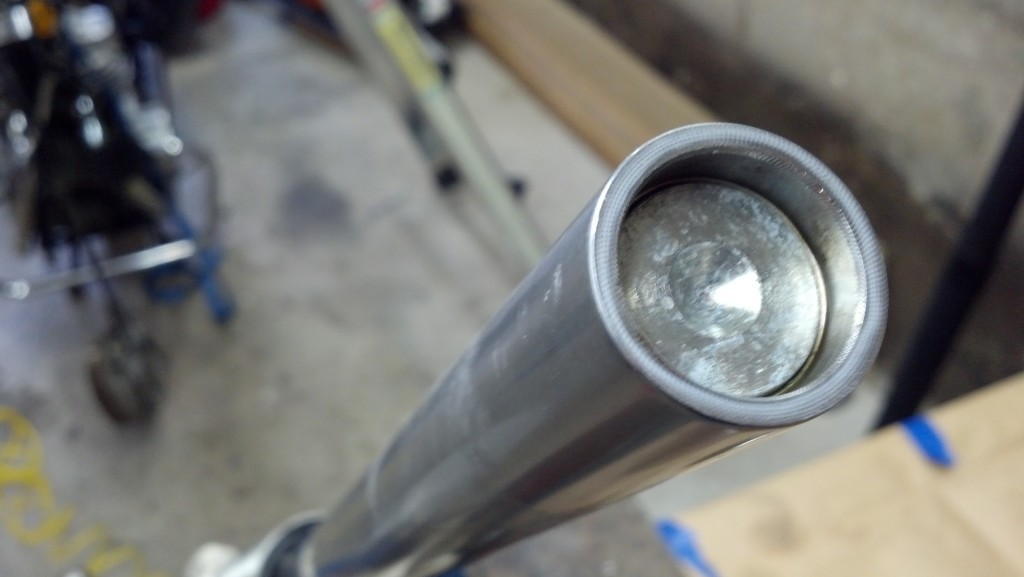
Now set the cap back on the top of the spring and using a Phillips screw driver, plunge the cap all the way back down into the inner fork tube. You might need to grab the inner fork tube to prevent it from depressing back into the lower fork tube. Once seated you should be able to get the inner fork tube plug stay spring into it’s slot, this will lock everything back into place
The last step is to reinstall the black rubber cap on top. After that reinstall the fork tubes back onto the bike and enjoy your now non-leaking and much safer suspension setup.
