Fork seal job for the XS400 (disassembly)
This weekend I decided since it was shitty and snowy out side it would be the perfect weekend to do the fork seals, the ones on the bike now are clearly shot with very little oil in them and zero rebound control (which makes for a dangerous ride).
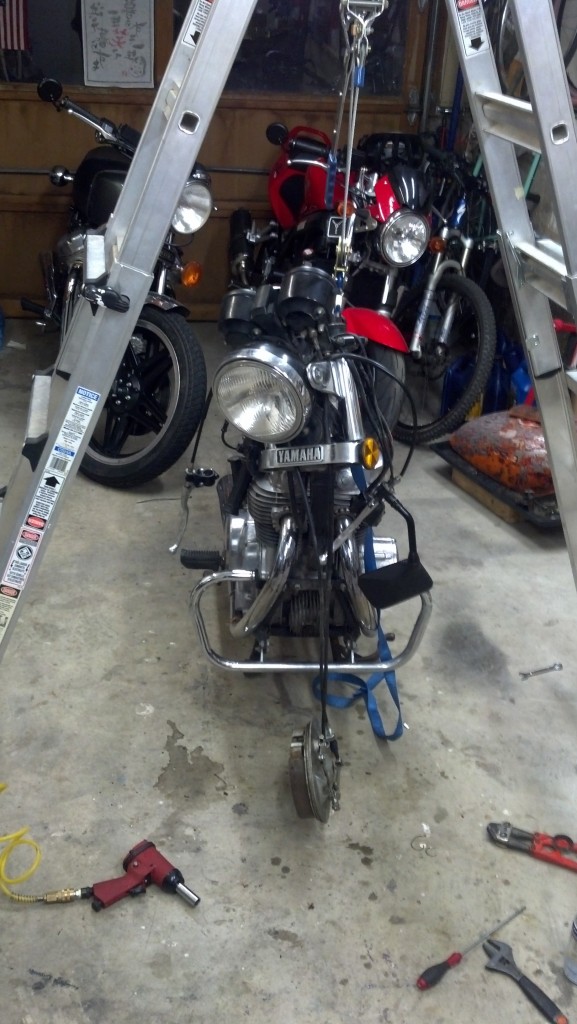
I started by removing front wheel, after that the top triple tree had to go. Normally this isn’t required however on this bike the pretty chrome pieces completely obscure the lower fork clamp bolts, so the only option was to remove the top triple tree then slide the chrome out of the way. Once done the lower bolts where easily accessed and the fork tubes slid right out.
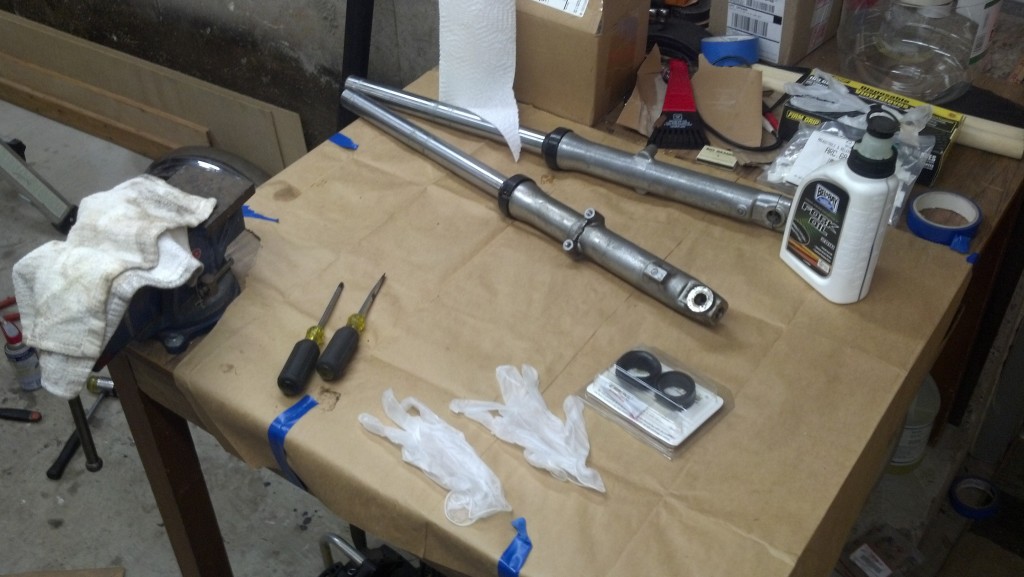
Once off the bike I prepared a work space on my bench. You’ll want to lay down heavy paper (in my case paper yard bags over a large table, this is because the remaining oil in these forks is pretty nasty. In many cases the older Japanese bikes used a type of fish oil, it has a very unique smell and you’ll know it when you get it.
You’ll want to have the following tools and parts available BEFORE you start:
- Small flat blade screw driver to pull the seal springs
- Phillips screw driver (#2 should be good)
- Large flat blade screw driver to pull the seals (Or better custom seal puller)
- Heat gun to soften the old seals
- Impact gun or breaker bar with long shaft hex socket to pull the lower fork rebound / drain bolt
- New fork seal kit with dust wipers (chances are the wipers are shot)
- New fork oil (on these older bikes I like 20w)
- Large vice to hold the parts with
- Cloth to prevent damage to the parts while in the vice
- Loads of paper towels
- Vinyl gloves (this will be messy)
- Oil drain can for the old used fork oil
- A few cans of heavy duty engine degreaser
- Something to measure out the proper amount of fork oil
- Factory service manual
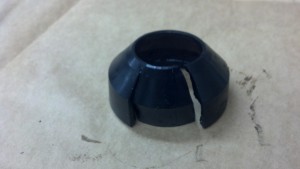
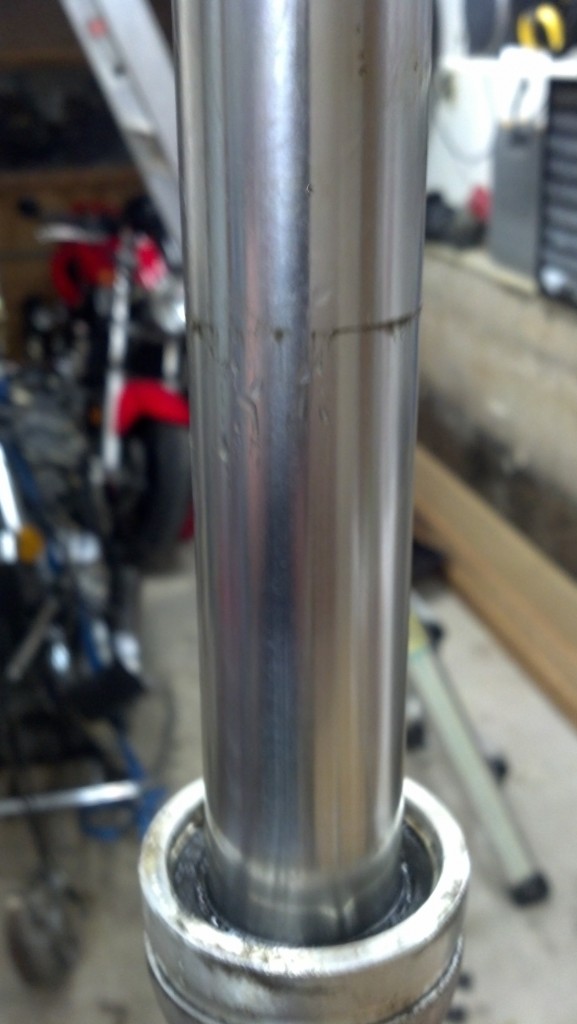
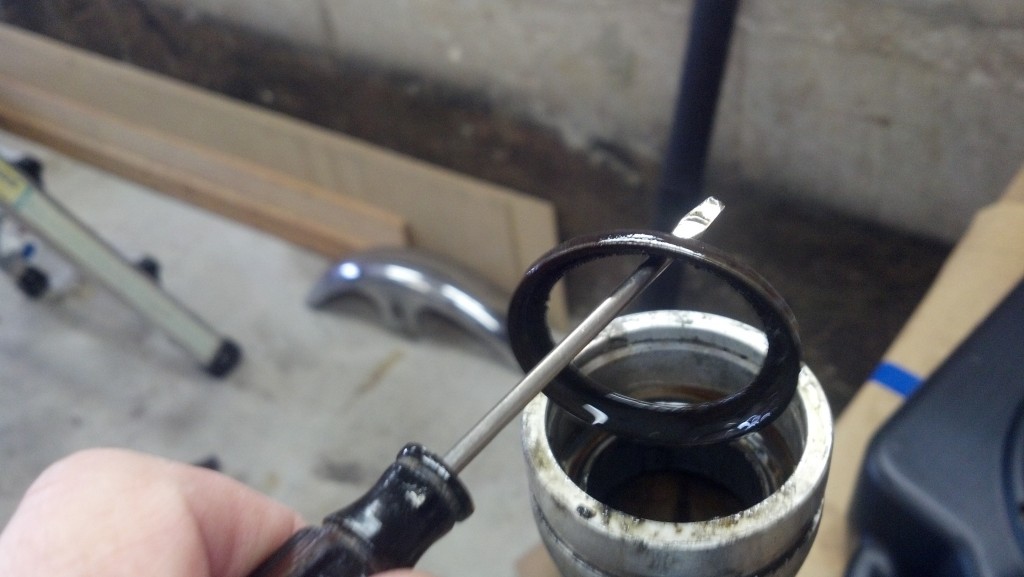
So lets get started. As you can see from the below picture of the dust cover and inner wiper seal these are shot and need to be replaced. The tell tail signs of these are grease / oil on the fork shaft it self, in this case we can see water there as well
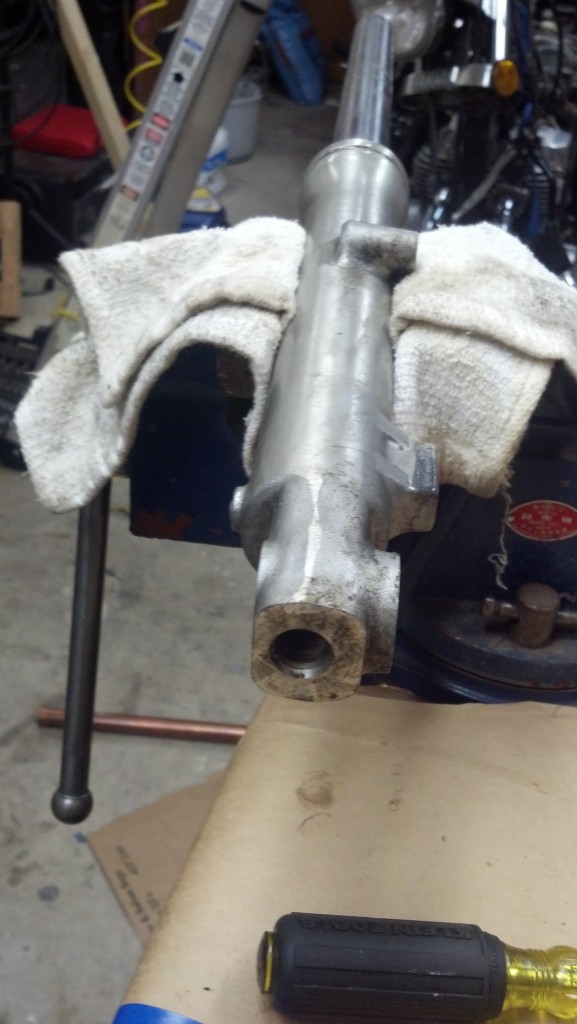
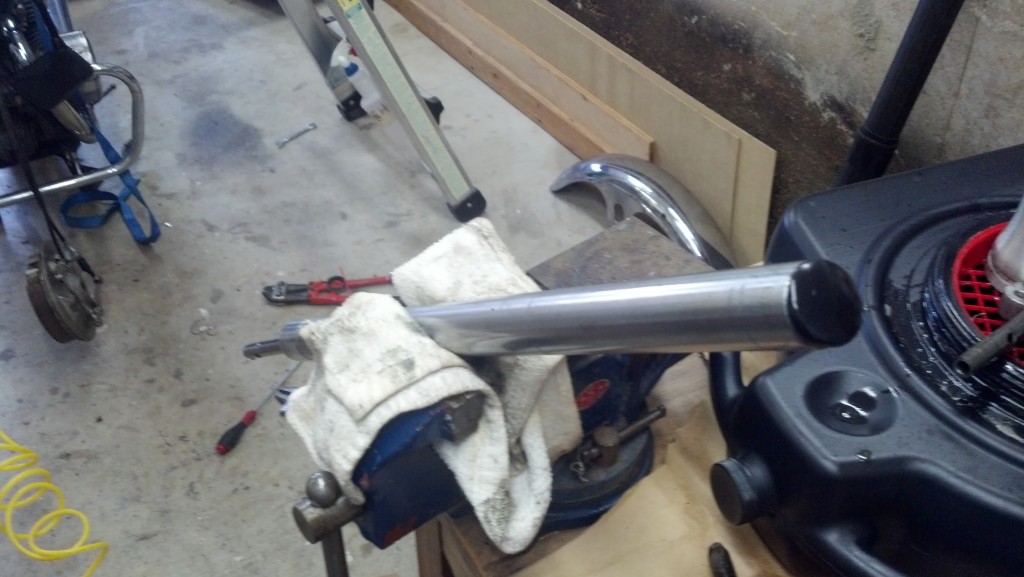
So first things first, lets drain this thing. Start by clamping the lower fork assemble in your vice, then using your long shaft hex socket and impact gun remove the lower rebound / drain bolt.
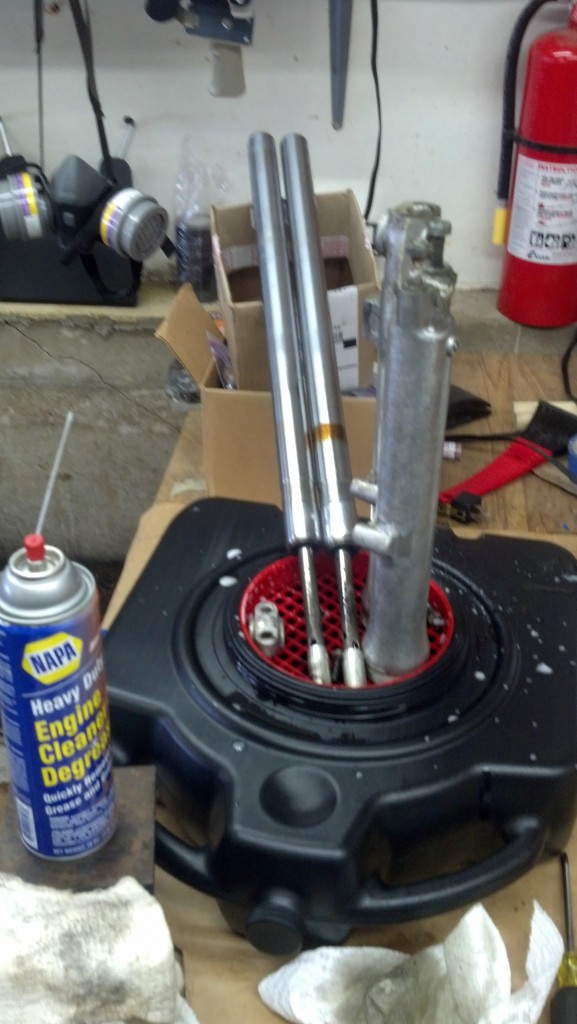
Once complete I was able to slide the inner fork assemble out without problems, however there was lots of oil so the first thing I did was set them on my oil catch and let them sit for a few minutes. A quick squirt of engine degreaser helped speed along the process
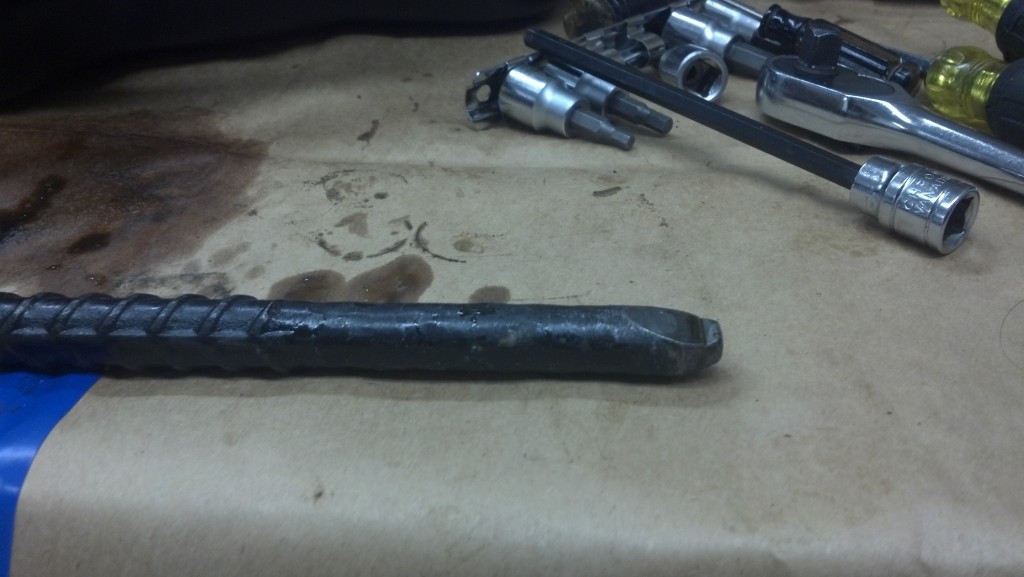
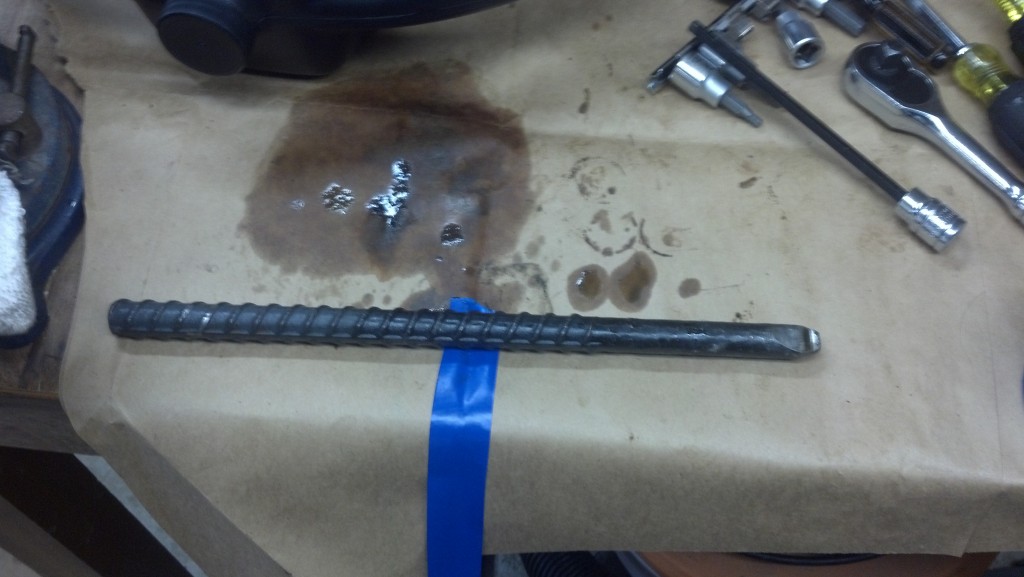
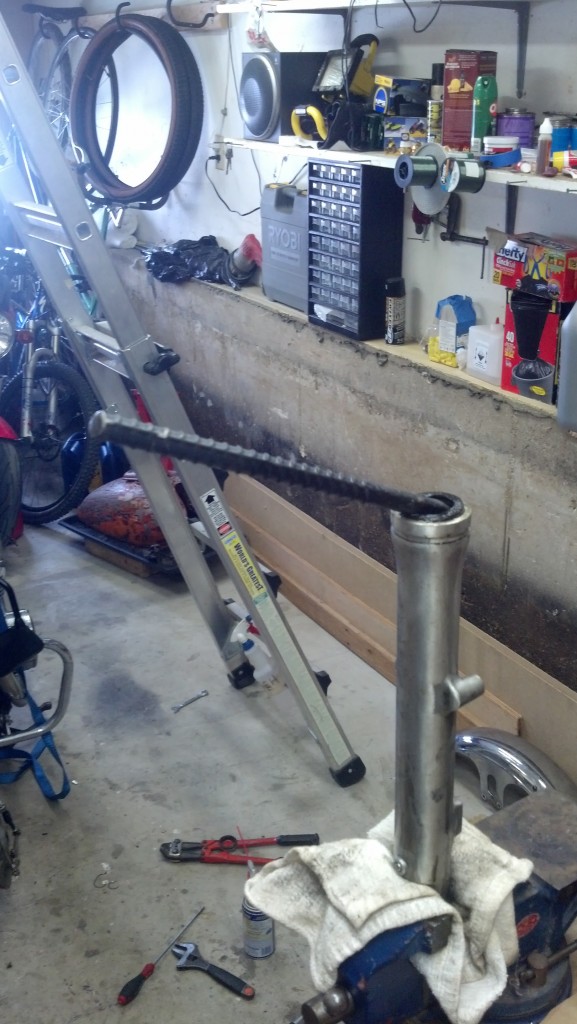
After it had a bit to drain it was time to pull the old, and failed inner seals. To make my life easier (which I’m always all about) I fashioned a custom tool out of a thick bit of scrap reenforcing steel I had laying around (the last time I did a fork seal job). I ground it down all the way around then cut a lip into it. I did this all with the bench grinder and it took me all of 20 minutes or so, you can of course use a large flat blade screw driver, however this beast is MUCH stronger and won’t scuff or slip on the seal:
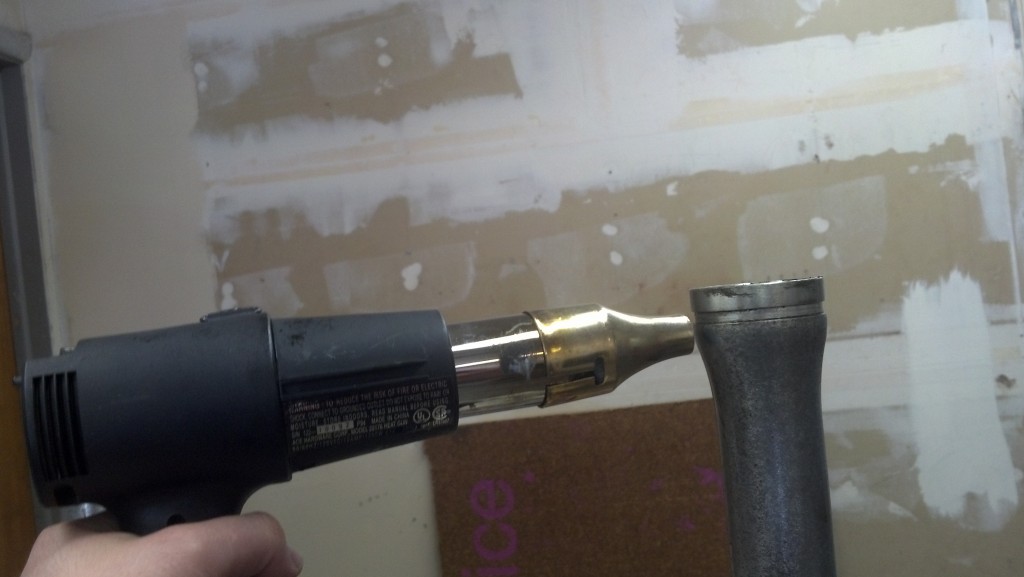
The next step is to get out the heat gun, you’ll want to heat up the top of the fork seals until they’re nice and warm. I always look for a slight bubbling around the seal, that indicates that the glue (yes sometimes they used glue) is soft and the seal is ready to come out. You don’t need to perform this step, however it makes removing the old seals MUCH easier:
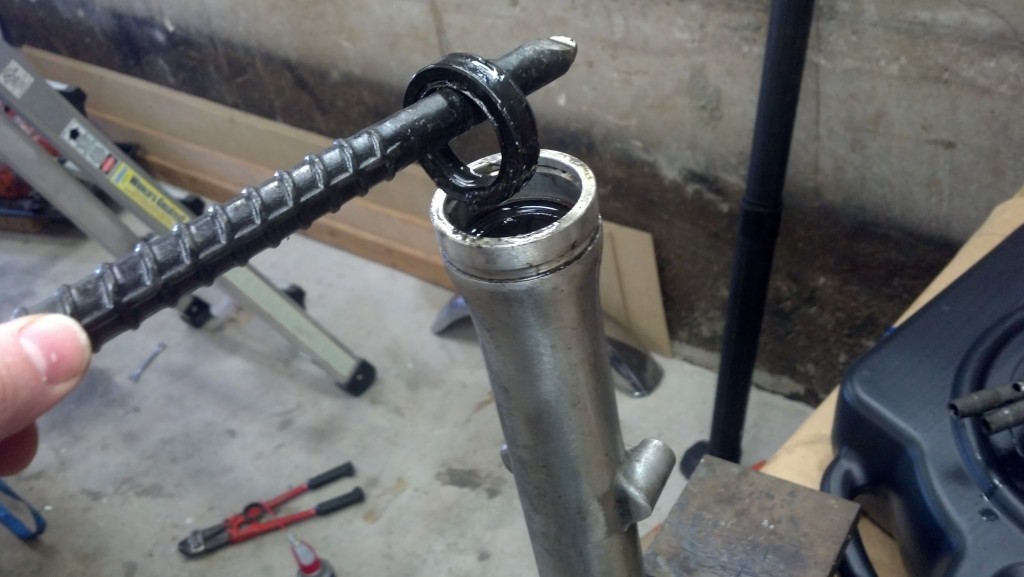
Using your custom fork seal removal tool (or screw driver) proceed to remove the fork seal, it should pop right out but may require some force:
In some cases there will be a removable seal seat. You’ll want to take this out as well and clean it with the rest of the parts. If it’s rough from rust, etc. try and sand it smooth with high grit sand paper, otherwise it may need to be replaced completely.
Ready for some serous cleaning:
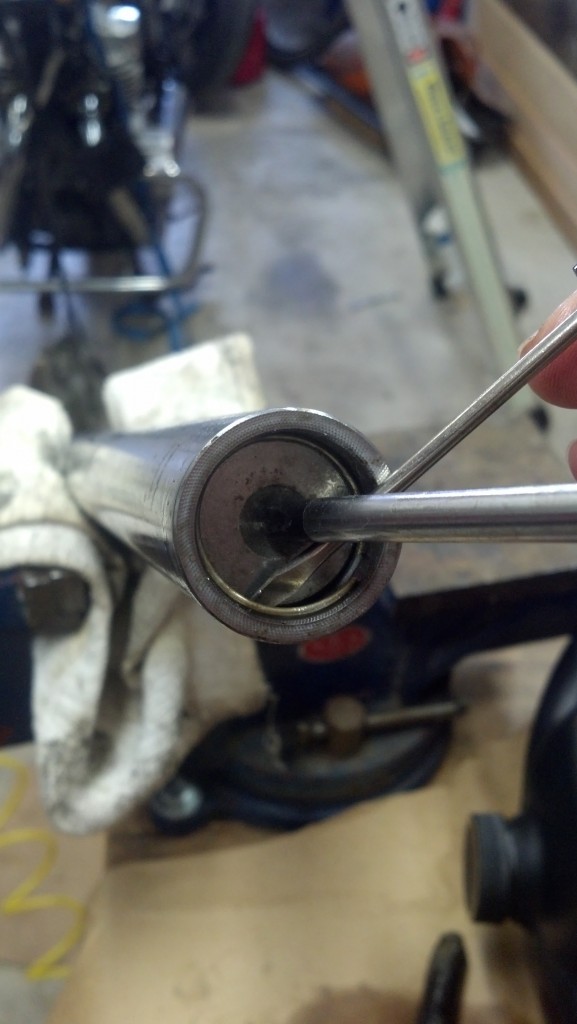
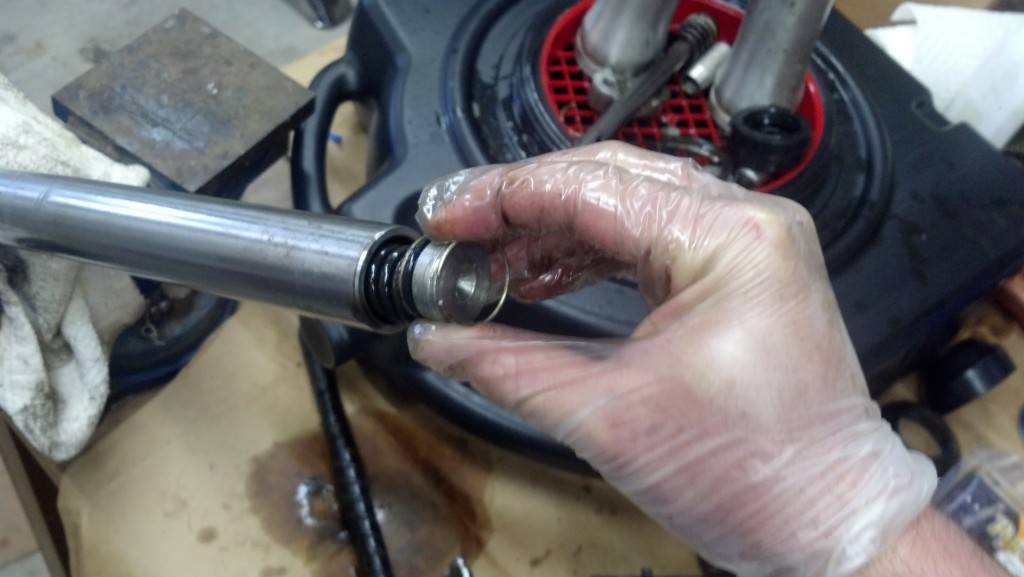
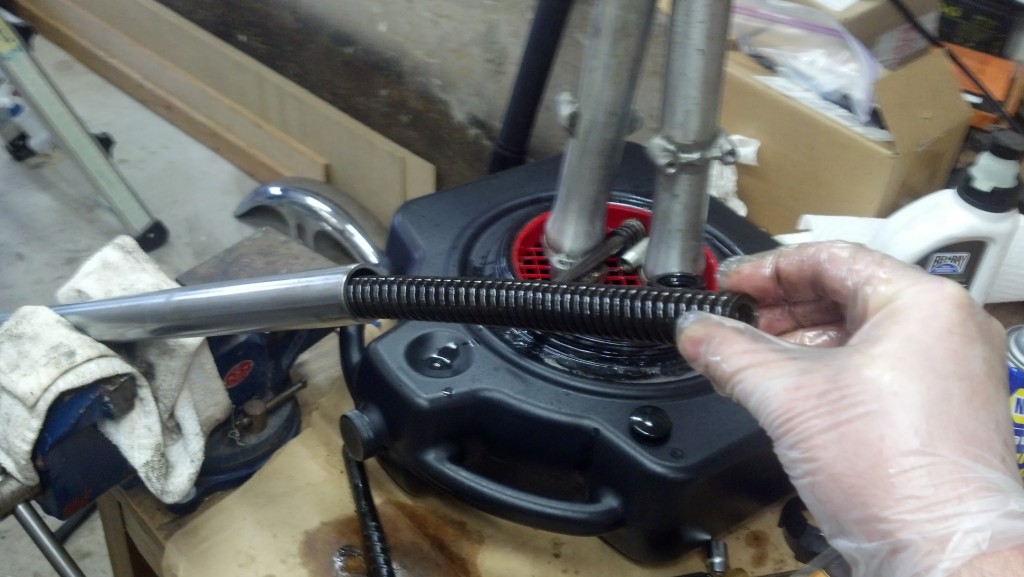
Next take the upper fork tube and remove the springs and rebound stay. In some cases (on honda’s) this can be done by unscrewing the fork cap. However on this Yamaha you simply pop the rubber cap off the top, force down the spring holder and unhook the spring holder stay spring. Be careful, there’s always some spring pressure on this and you don’t want parts flying all over the place:
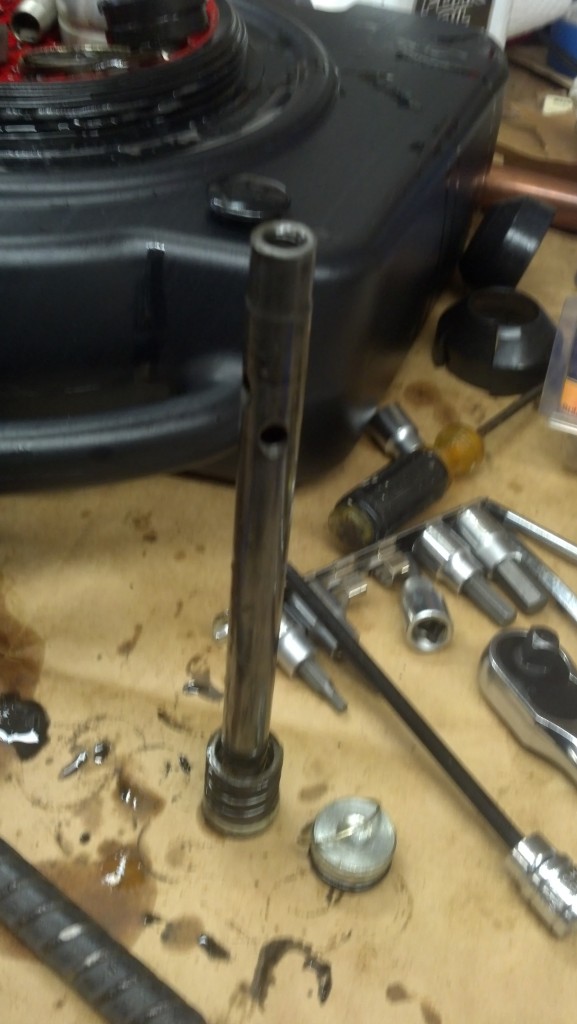
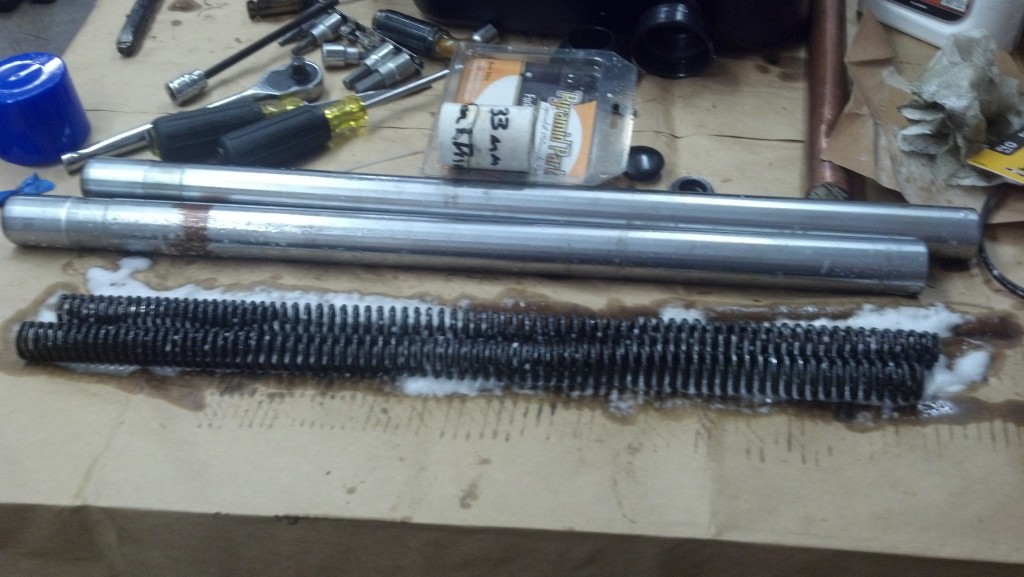
Now that’s complete we can remove the remaining parts and get ready for cleaning and rebuilding. Once I start the rebuilding process I’ll update this post with more information.
